By: Freek Berson & Kristin Griffin
Citrix XenApp Essentials is live! Here’s a little background on what XenApp Essentials is, and why you might want to use this service. As many of you may know, Microsoft made the decision to retire Azure RemoteApp (read more on that from Benny Tritsch’s blog post). XenApp Essentials is its replacement. Simply put, Citrix Cloud builds and maintains the RemoteApp deployment. It builds the XenApp workload servers for you in your Azure subscription (based on your custom server image). It provides a secure web storefront for you from which users can access their remote apps from any device, and from anywhere. You specify the users who get to access the apps and you are off to the races. In a nutshell, its a pretty sophisticated remote application deployment made easy for the consumer and maintained by Citrix Cloud.
Sound interesting?
We at RDS Gurus had the privilege of test driving XenApp Essentials (XA Essentials) during the private preview before General Availability. In this blog post we will walk you through the steps to setup and use it.
To setup XA Essentials you need:
- An Azure Subscription
- A Resource Group where the Cloud Connector Virtual Machines will be hosted
- At least one DC with Active Directory Domain Services and DNS
- A Virtual Network configured with a custom DNS entry pointing to at least one of the DCs
- A Subnet with sufficient free IP addresses
- Make sure you understand the costs that Citrix Charges (via the Azure Marketplace) by reading this info: XA Essentials Costs
Once you have the prerequisites in place, go to Step 1.
Step 1: Get a Citrix Cloud Account
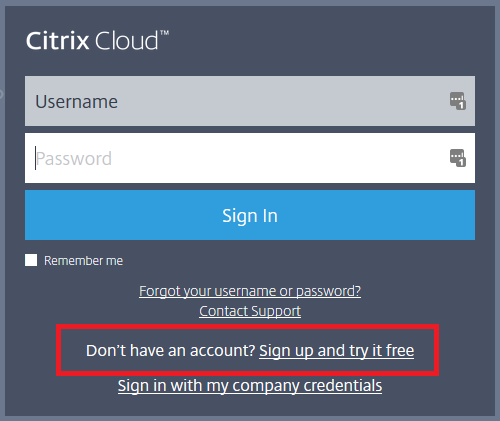
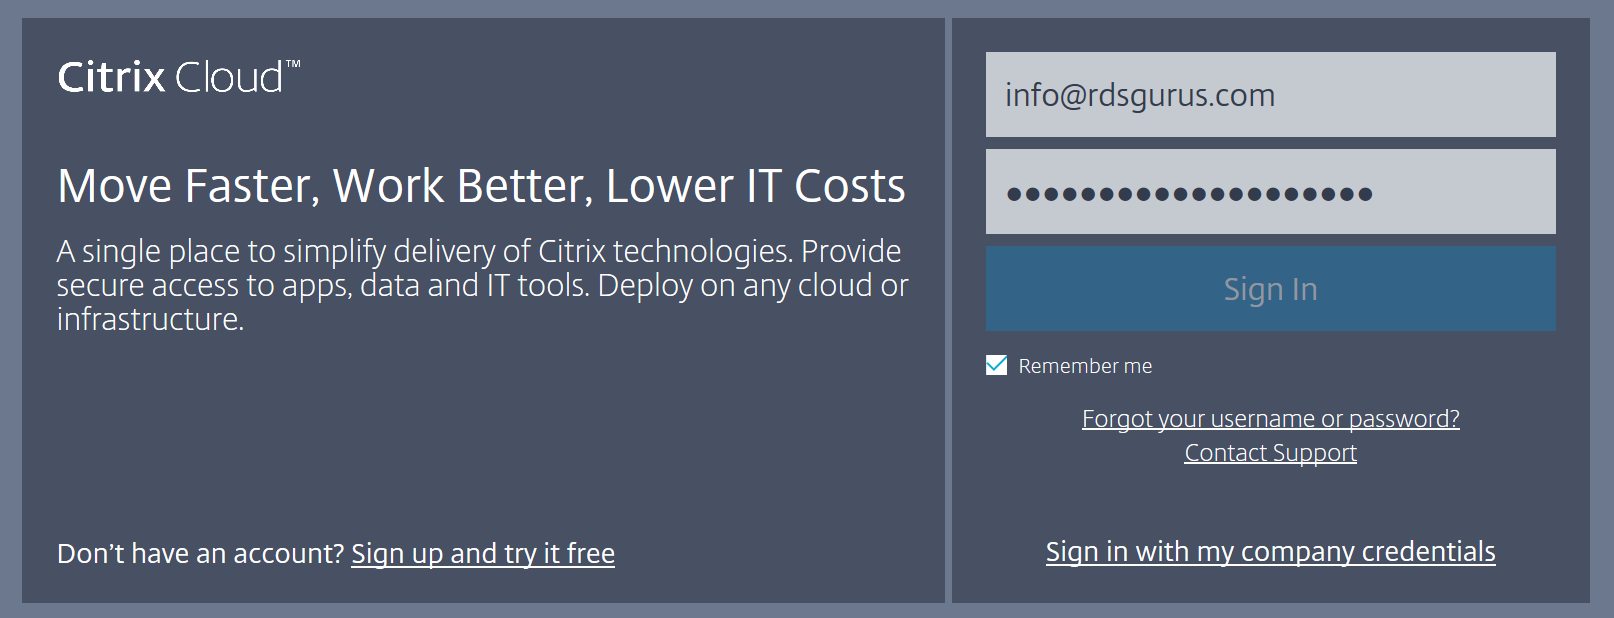
First you need a Citrix Cloud account. Go to http://cloud.citrix.com. Click the “Sign up and try it free” link.
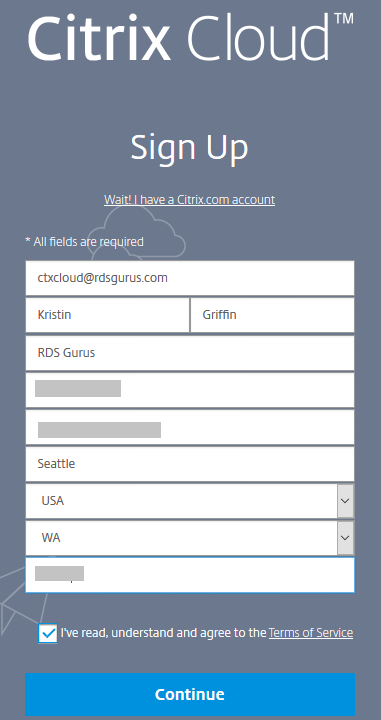
Fill out the required fields, check the box that you agree to the terms of service and click Continue.

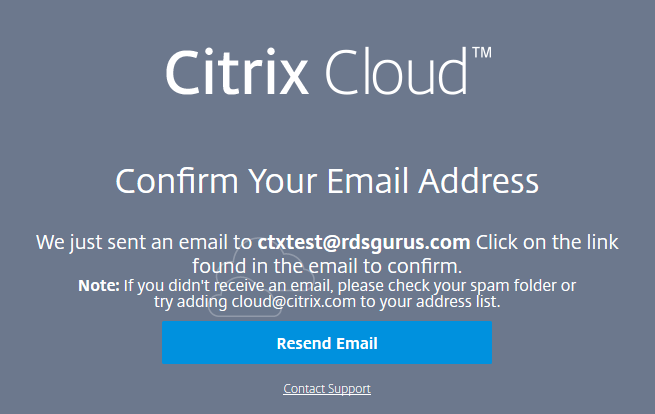
You will receive an email at the address provided – click the link in the email to confirm and Citrix will provision your account.
Step 2: Add XenApp Essentials to Azure
Log in to portal.azure.com and find the XenApp Essentials offering by searching the Azure Marketplace for “Citrix”.

Select Citrix XenApp Essentials and click Create on the next screen.

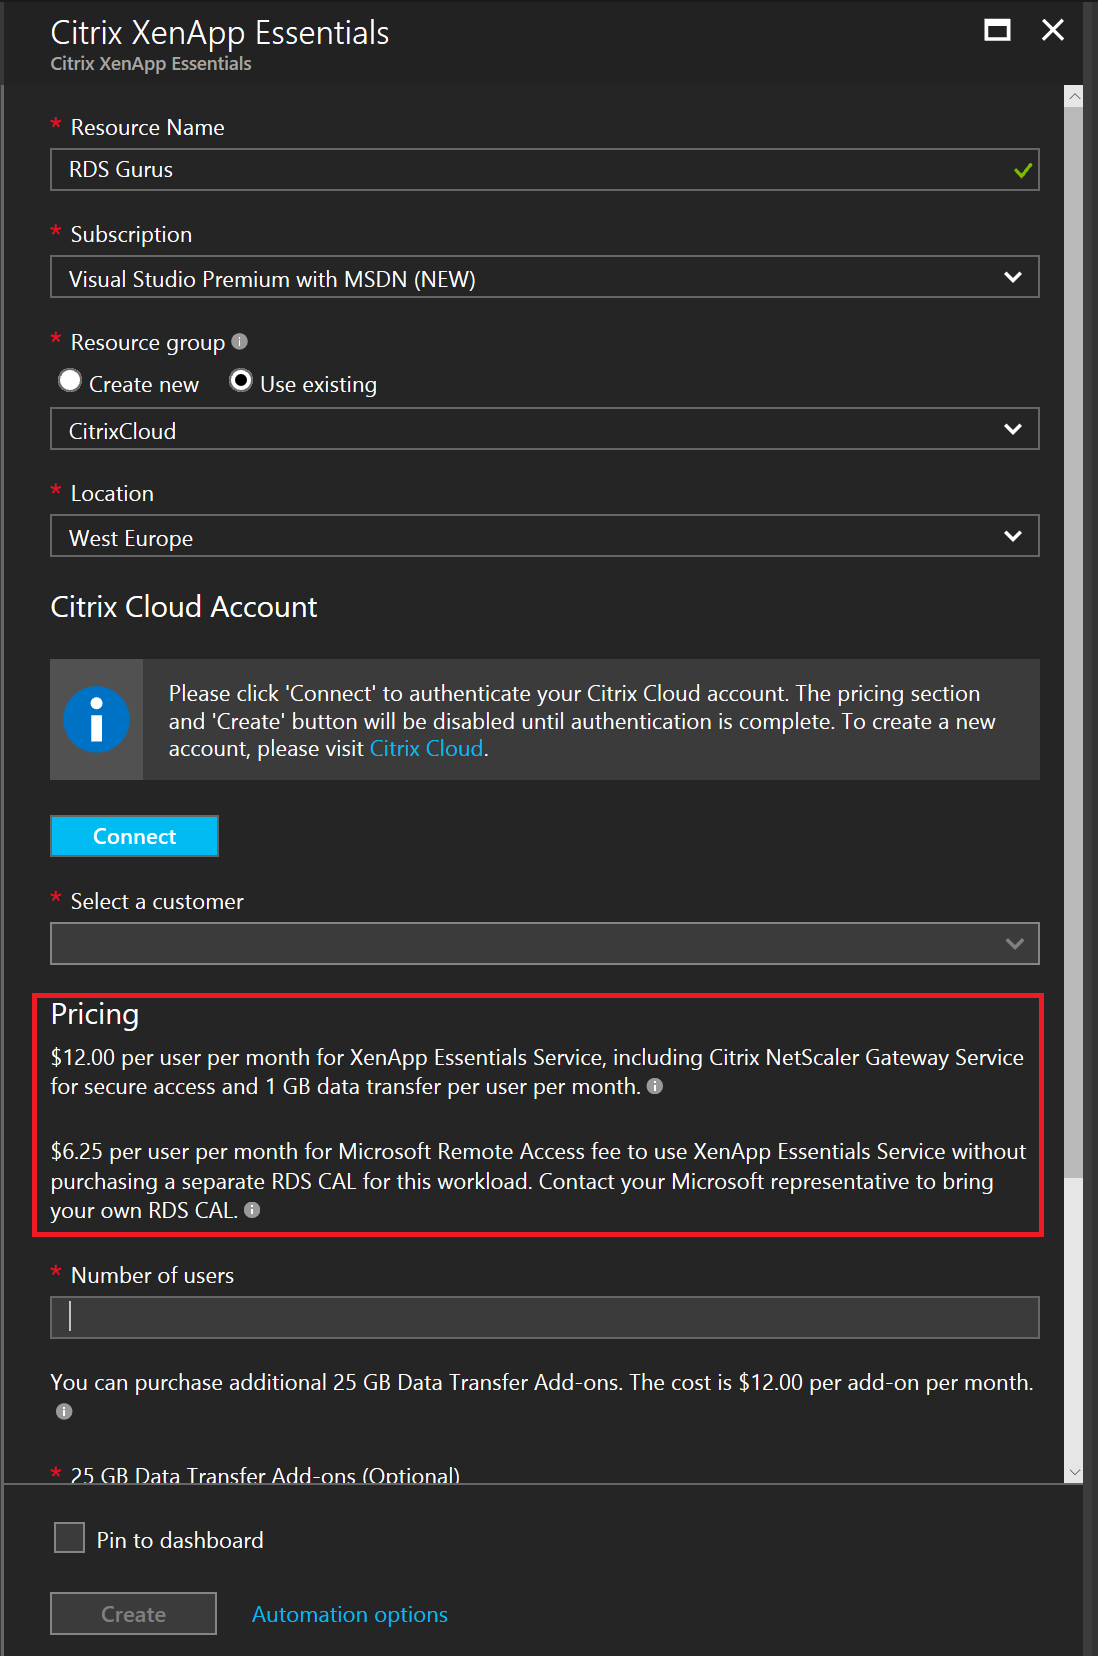
Now Click Connect, provide your Citrix Cloud credentials and select the customer and the number of users.
CAUTION: As the Azure Marketplace states in the next screenshot, by performing the next step you will be charged by Azure for the purchase XenApp Essentials licenses for the number of users you provide!
Step 3: Link Your XenApp Essentials Service to Your Azure Subscription
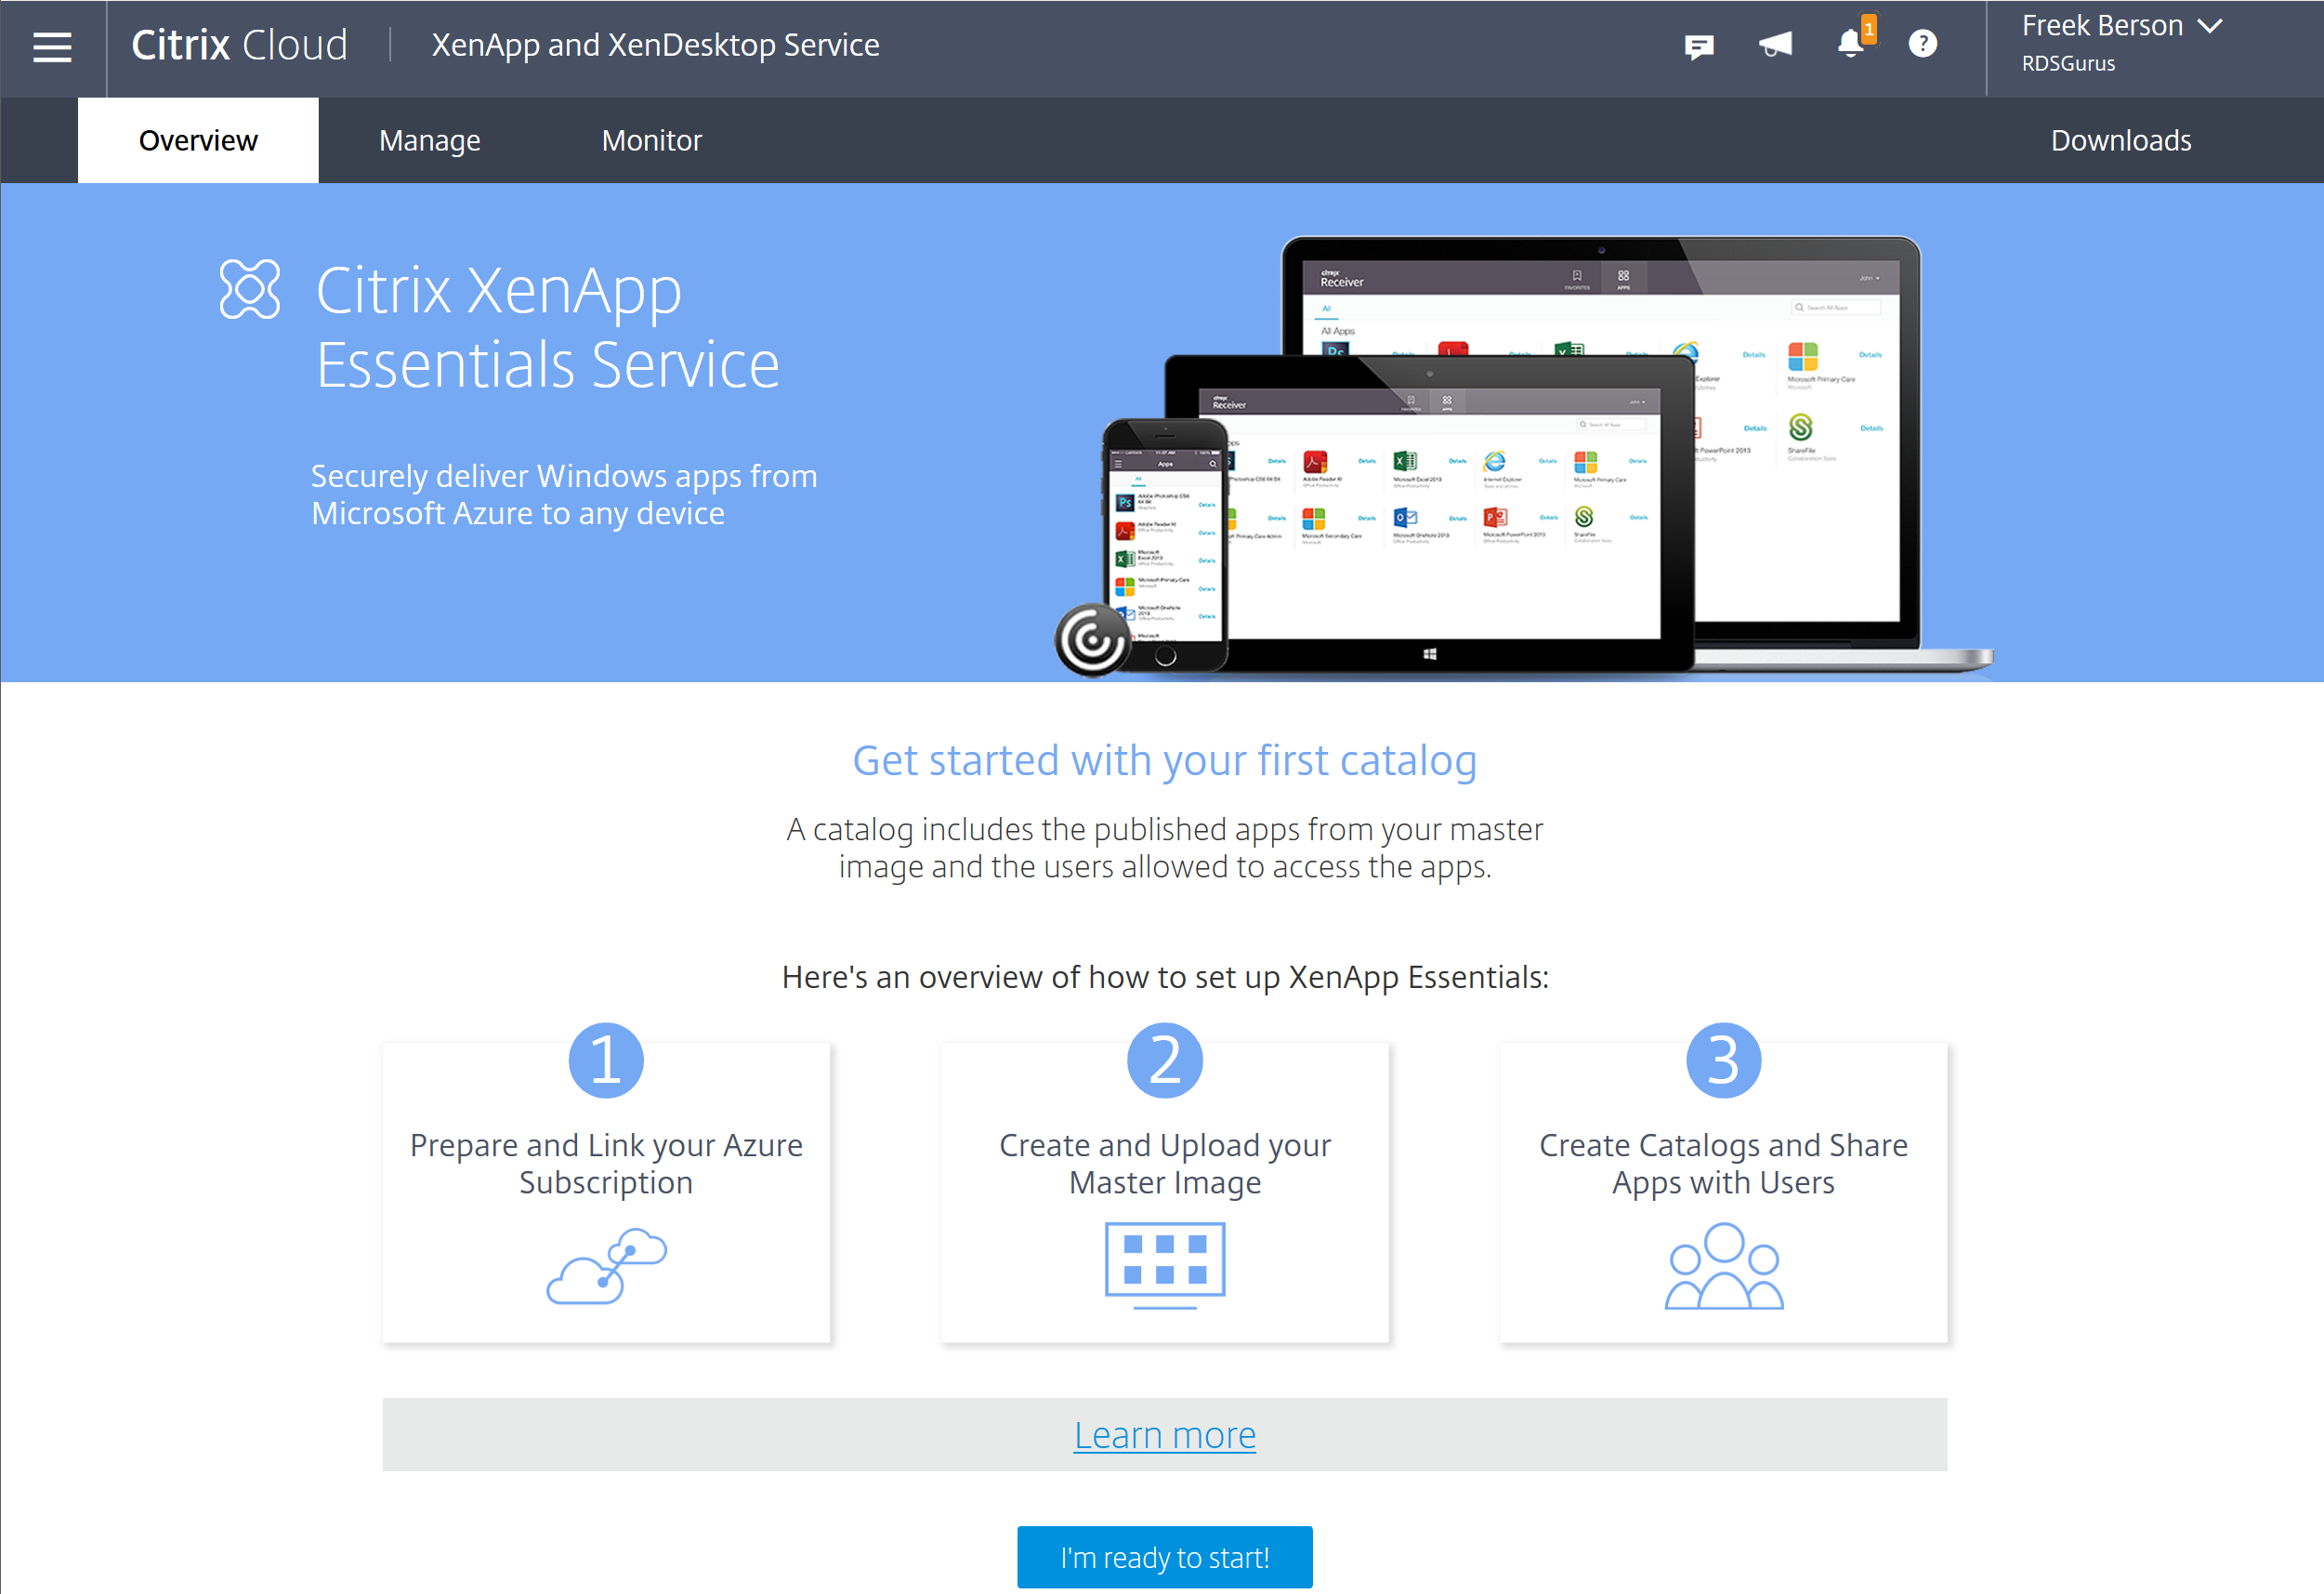
Log into the XA Essentials Portal https://xenapp.cloud.com/
You will get this initial screen:
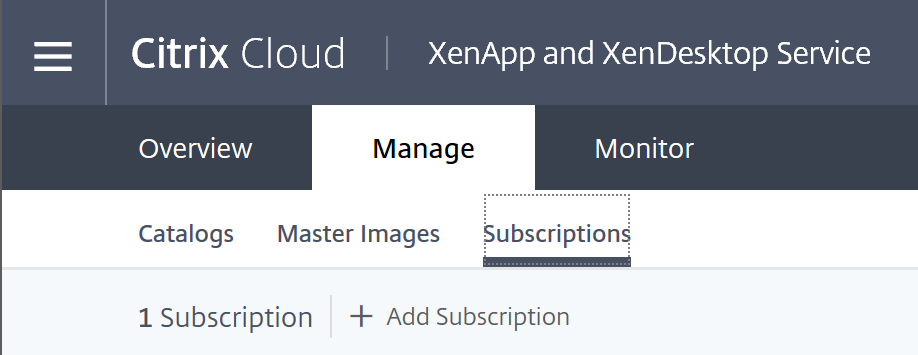
Now you need to link our Azure Subscription to XA Essentials. This is because the XA Hosts and Cloud Connectors will be running in your Azure IaaS environment. To do this, click on the Manage tab and click Add Subscription.
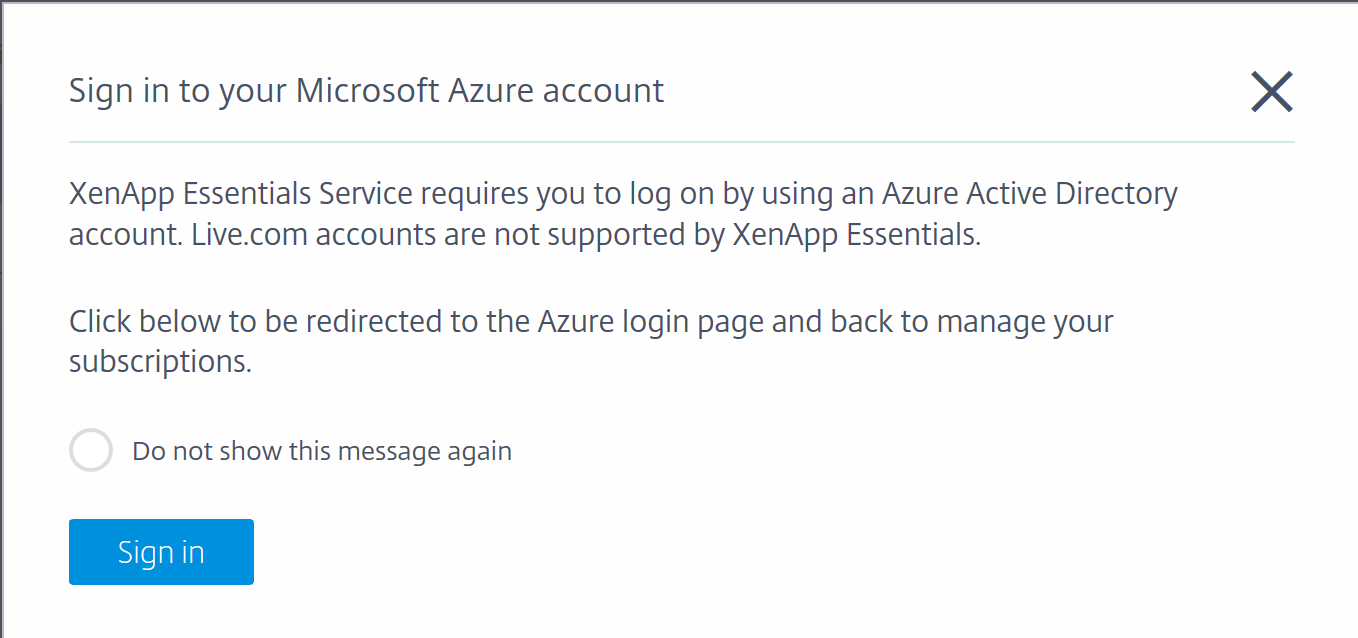
You will be presented with a Microsoft login dialog box. Provide an account that has admin privileges to your Azure Subscription.
IMPORTANT: This MUST be an Azure AD Account; it cannot be an MSA account like [email protected].

Next, Azure will ask you to confirm if you want the specified to actions to be authorized via the App Publisher website. Click Accept.

Now select the Azure Subscription that you want to link with XA Essentials.

Step 4: Create a XA Essentials Catalog
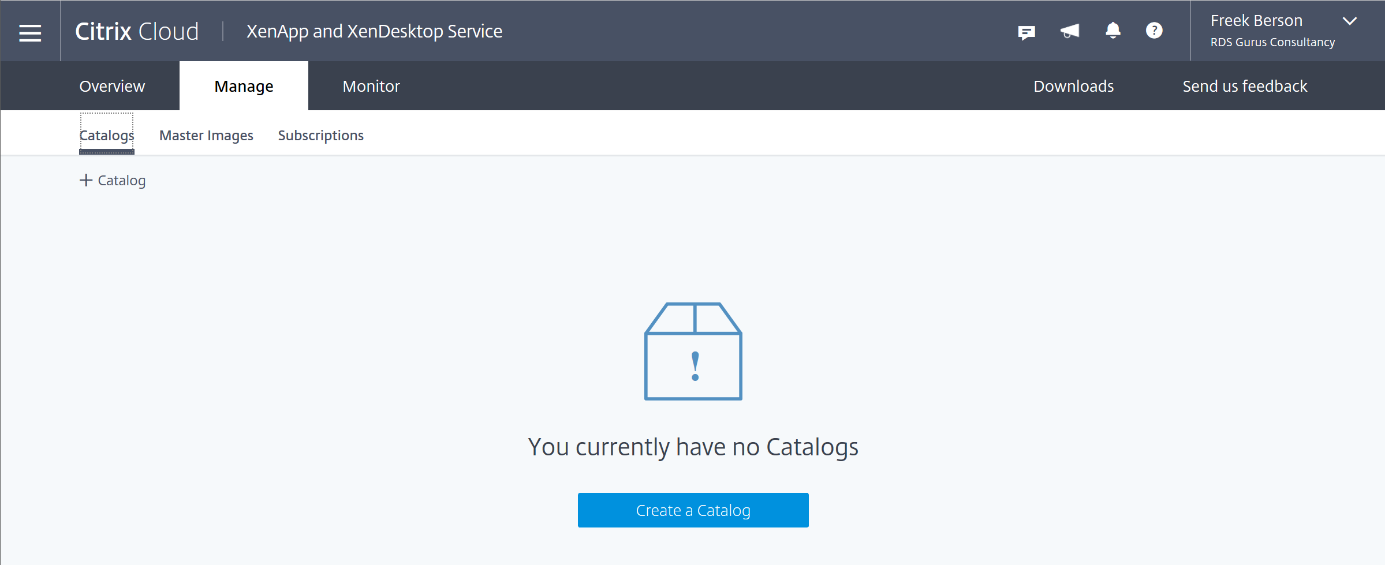
After successfully linking the Azure Subscription it’s time to start creating the XA Essentials Catalog. For those familiar with Azure RemoteApp, a catalog is like an Azure RemoteApp Collection. It’s a list of apps you are providing to your users. Click Manage, then click Catalogs in it not already selected. Click Create Catalog.
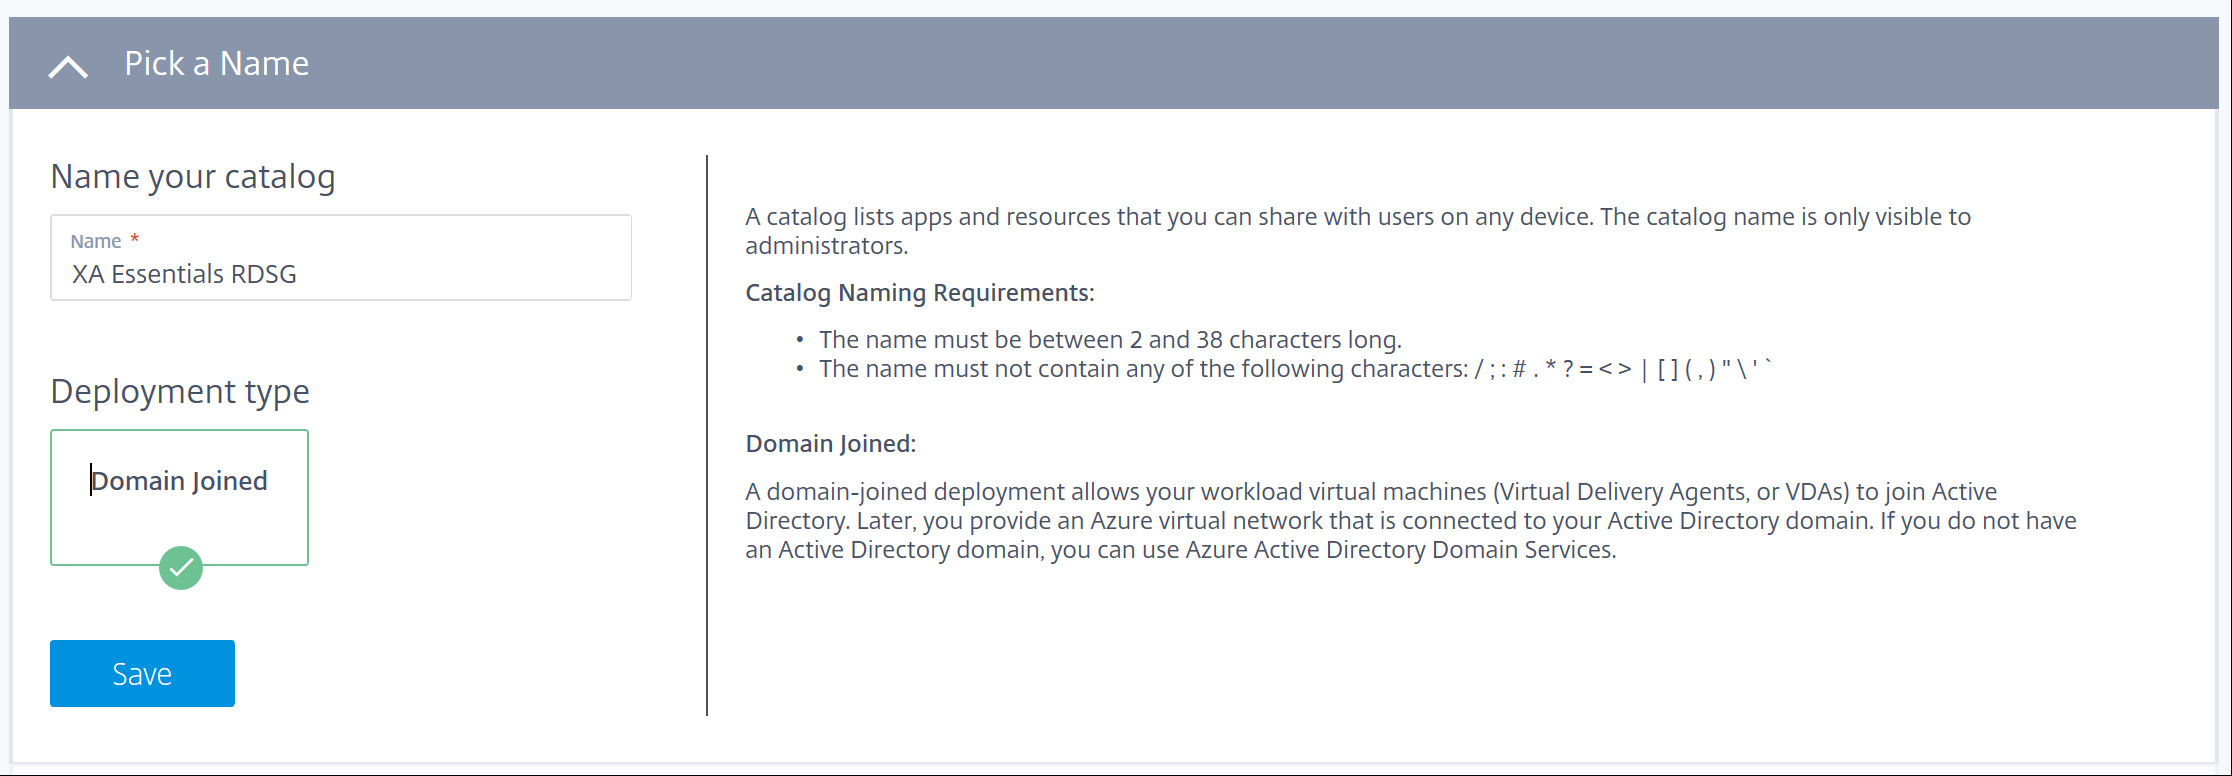
Provide a name for the Catalog (we chose “XA Essentials RDSG”). Click Save.
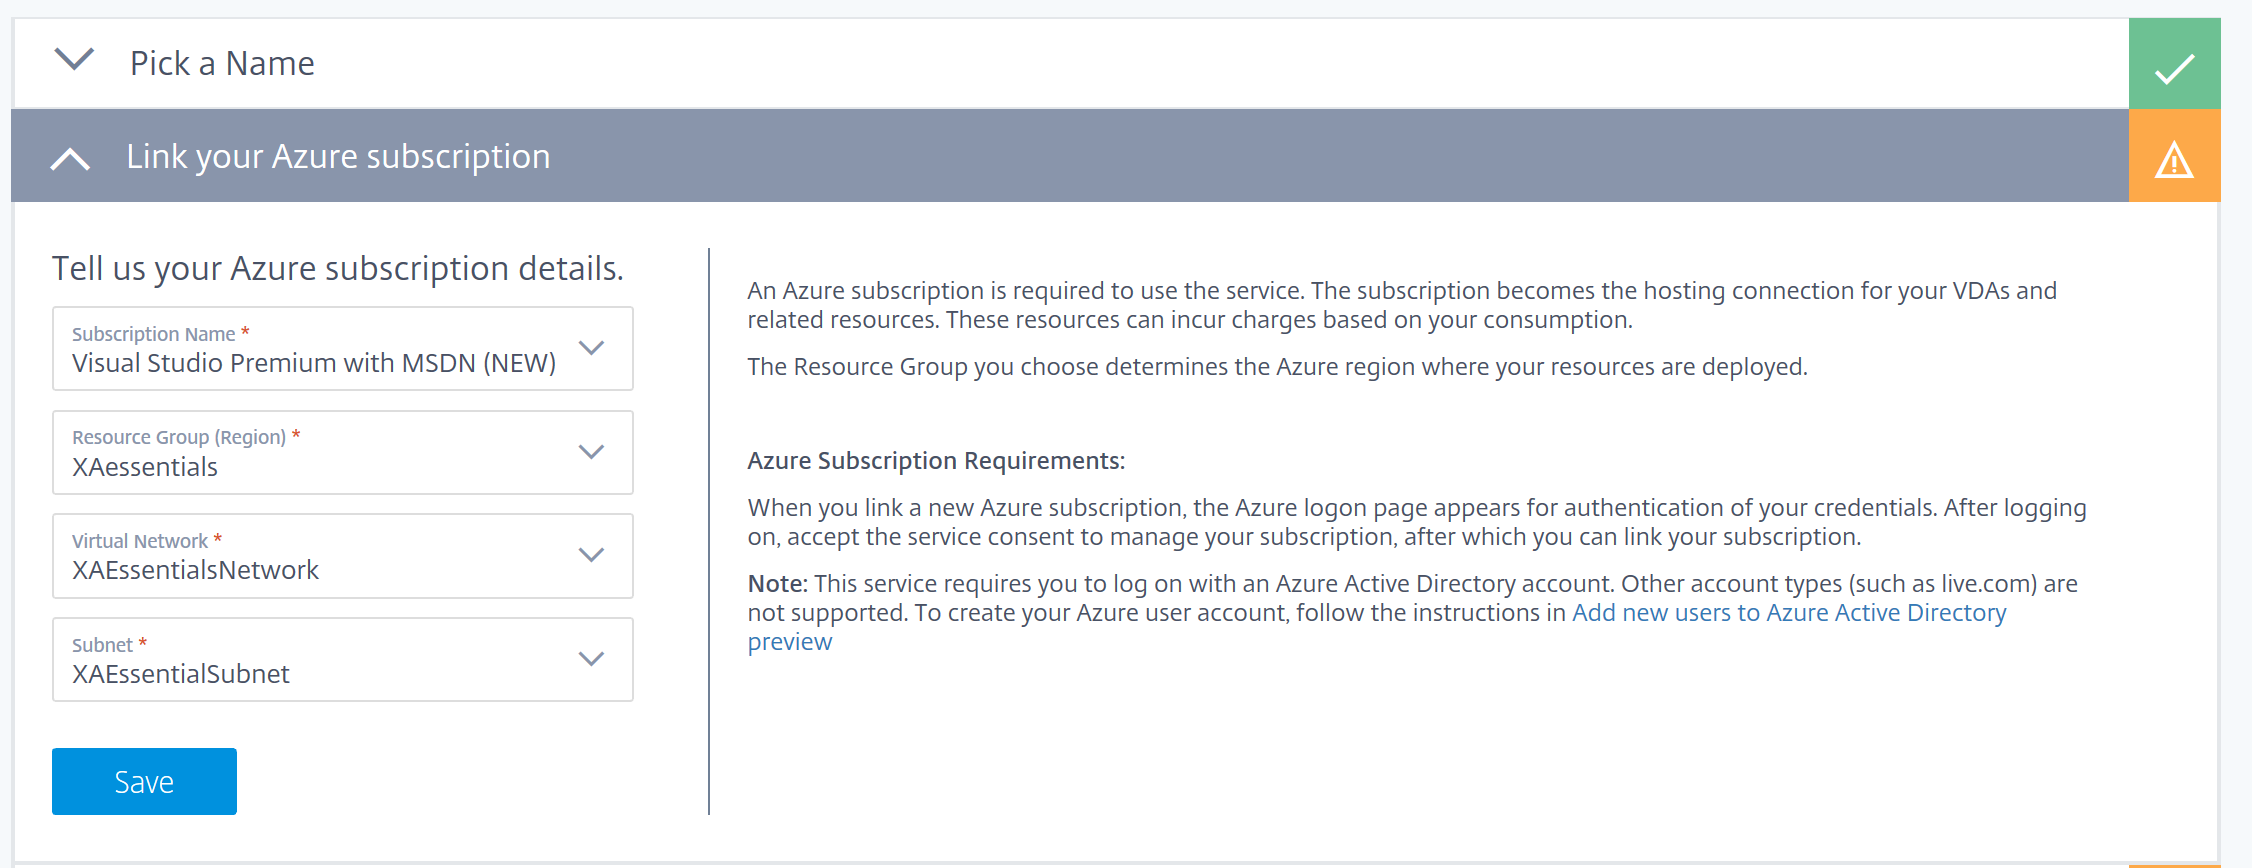
Step 5: Give Azure Subscription Details
Next, specify where in Azure you want the XenApp Servers to be created. Select the Subscription, Resource Group, Virtual Network and Subnet. These resources need to preexist; XA Essentials will place Cloud Connector servers in the provided Resource Group, and it will link the network adapters of the XenApp Servers to the subnet you provide. Make sure that there are enough free IP-addresses and that a DNS server is property configured on the Virtual Network, pointing to the existing Active Directory domain.
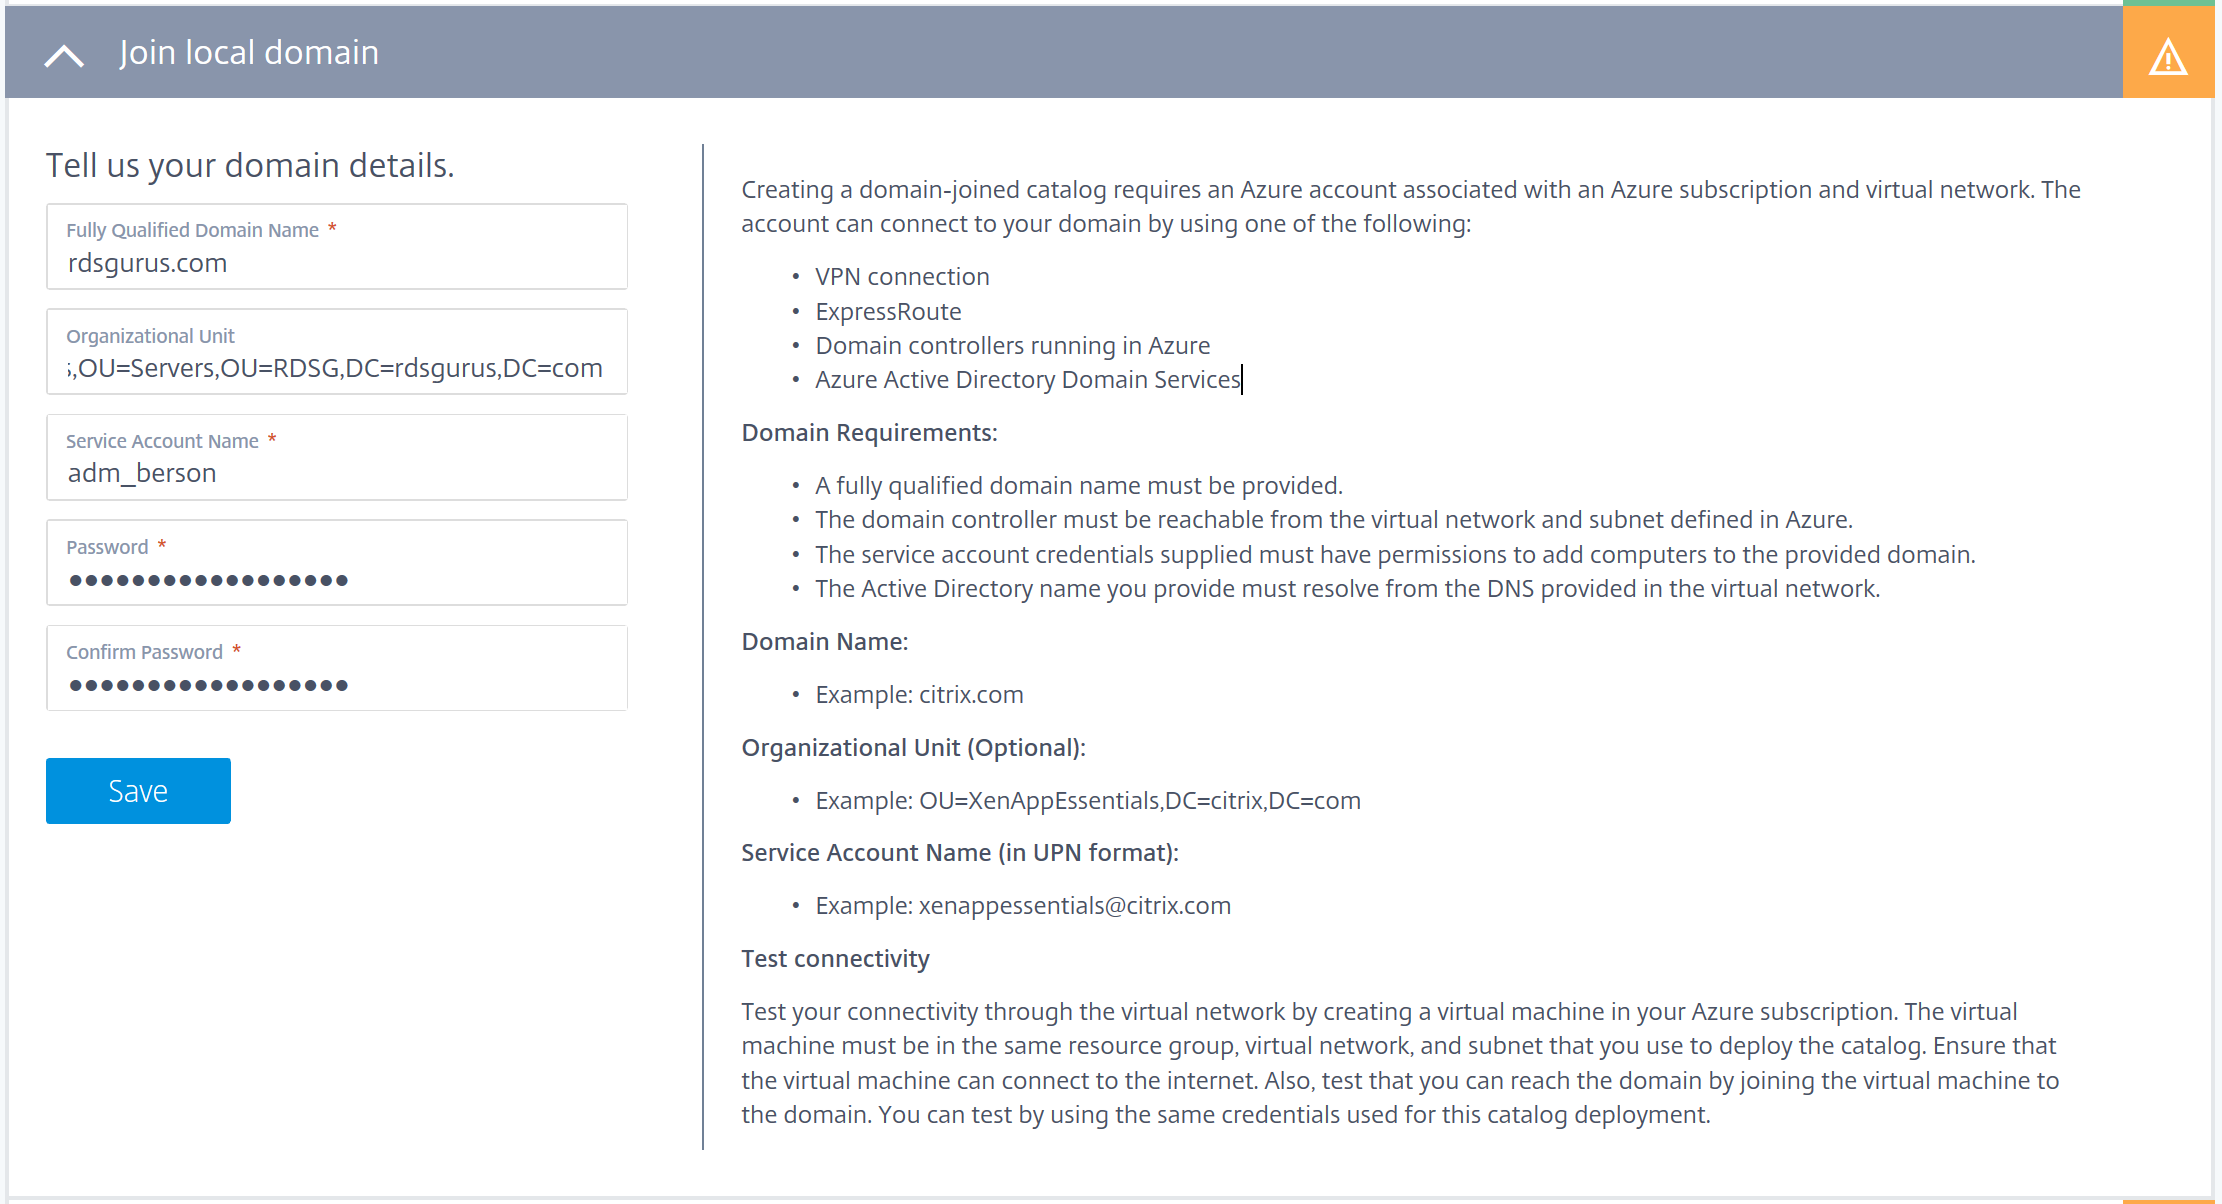
Step 6: Join the Local Domain
Next, specify the domain details. Give the internal FQDN domain name, (in our case rdsgurus.com) and optionally an Organizational Unit (OU). If you specify an OU, XA Essentials will place the created the XenApp Servers and the mandatory Cloud Connectors (running on 2 separate servers) in this OU. Give a Service Account that has enough permissions to be able to join the XenApp Servers to the domain.
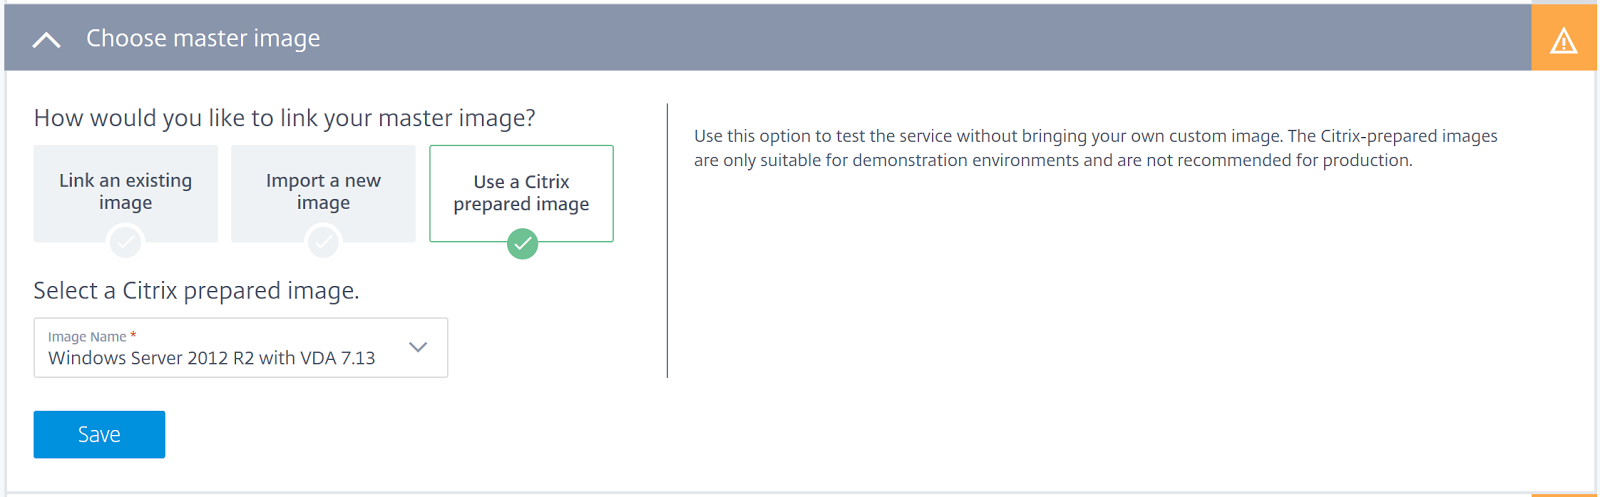
Step 7: Choose a Master Image
Next, specify the master image – this is the image that XenApp Essentials will use to create the XenApp workers (RD Session Host servers in native RDS-speak). You have three options:
1. Choose a Citrix Prepared Image. Currently there only is a Windows Server 2012 R2 image. This image does not contain any 3rd party applications there to be used in Proof Of Concept scenarios.
2. Link to an existing image. You can choose an existing template image that you have imported into XA Essentials before.
3. Import a new image. If you want to publish your own set of applications, select this option. To import an image, you have to have an image pre-created in your subscription with your apps installed. Follow these steps to create a VM image for XA Essentials.
How to Create a VM Image in Azure
To create a new VM image in Azure follow these steps:
1. Create a new Virtual Machine in Azure (2012R2 or 2016 Server) using standard disks (not SSD).
2. Do not domain-join this machine.
3. Install your applications.
4. Download and install the Virtual Delivery Agent (VDA), (choose to “Let MCS configure” and accept the other defaults of that installation).
5. Reboot the VM and finish the VDA installation.
6. Shut down the VM.
Note: Do not Sysprep the VM!
For this lab, we chose to use a Citrix Prepared template image.
Step 8: Select Capacity and Management Costs
Next choose the type of worker you will be supporting. You can choose from the predefined worker types or create your own custom worker. This allows for a lot of flexibility because you can choose any Virtual Machine instance type that is available in your Azure Region. If you create your own custom worker you also get to pick your session count (the maximum of concurrent session a single XenApp Server is allowed to have).
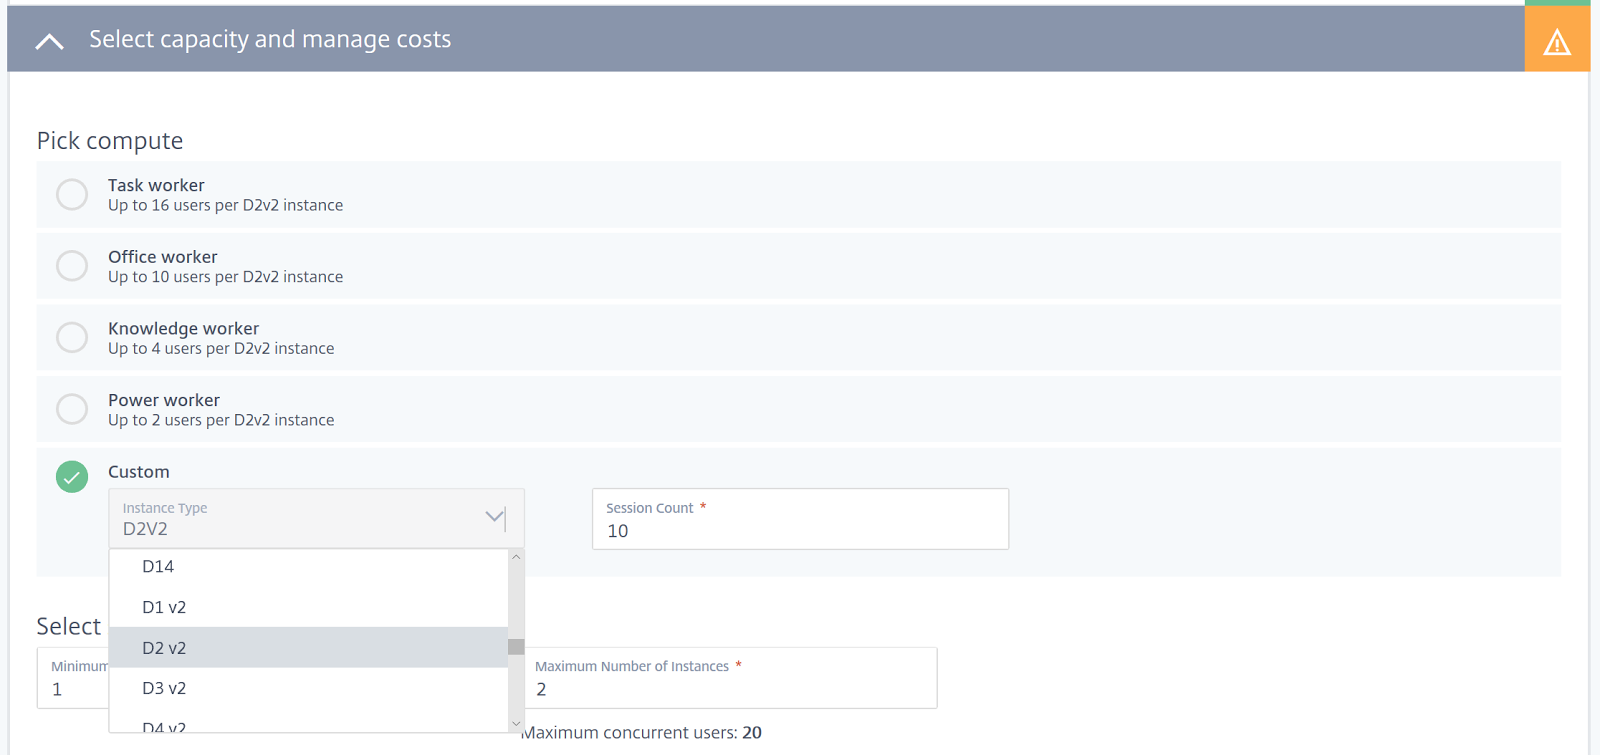
Define the overall maximum number of users (to prevent bill shock), and the minimum number of instances (the minimum number of servers that will be available at all times). Choose the peak hours that are specific to the company (handy for preventing logon storms at 8AM).

Configure session time-out options.

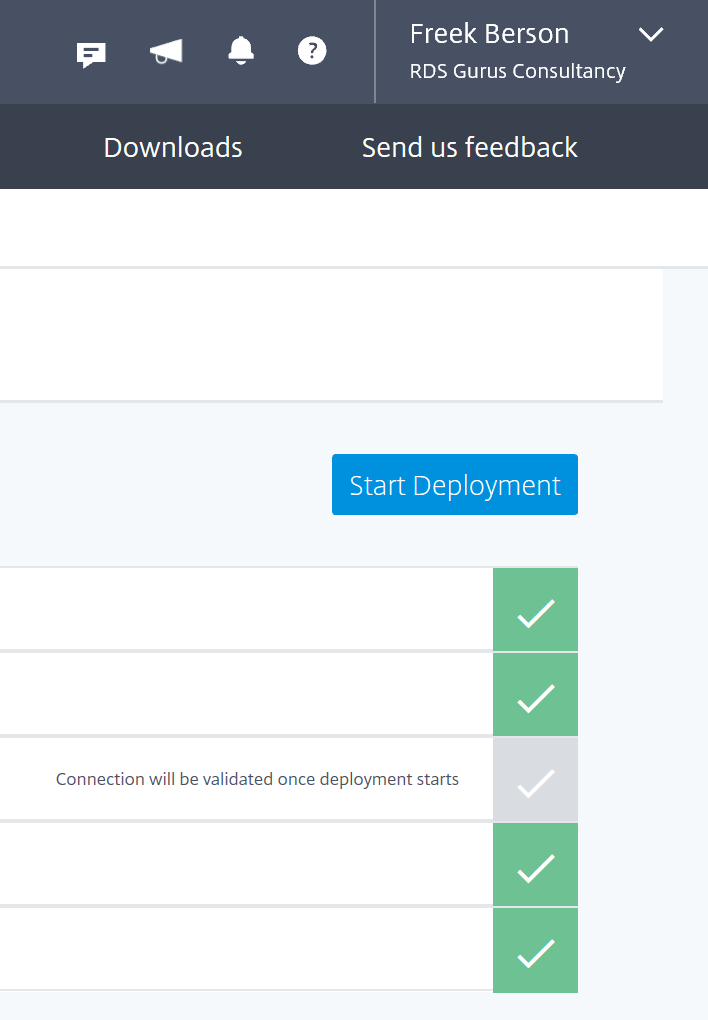
Step 9: Start the Deployment
When you are done specifying these values, hit the Start Deployment button to kick off the deployment.
Once the deployment starts you can view the deployment progress from the Catalogs page on the Citrix Cloud portal.
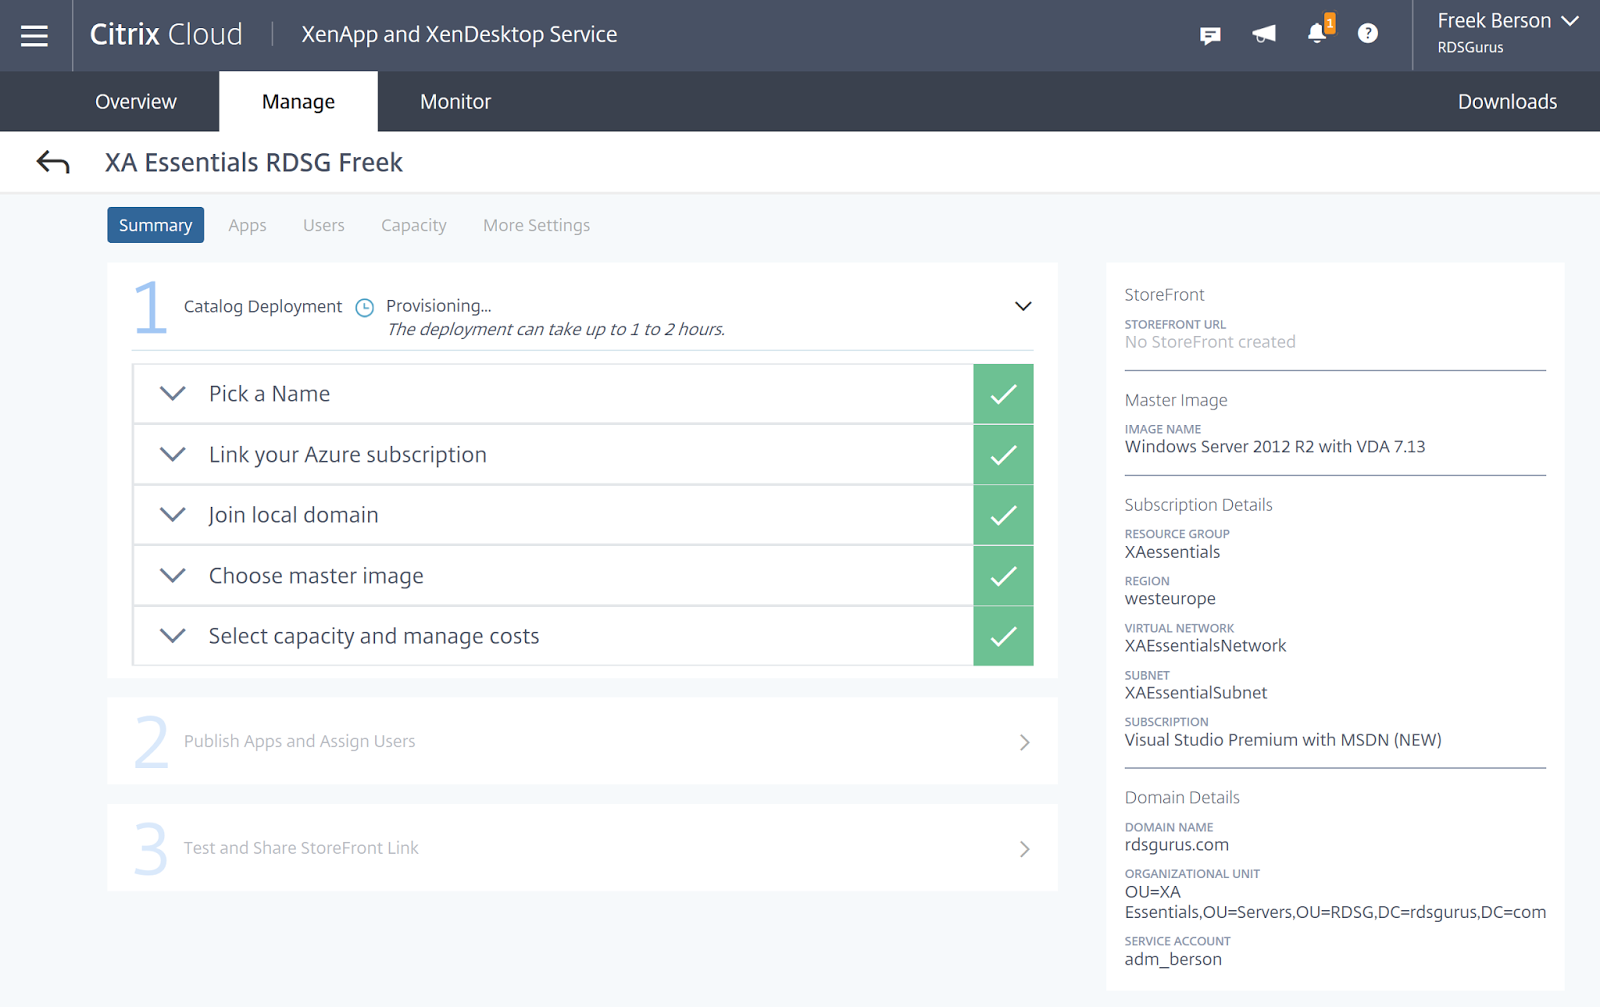
The “state” will go through several stages (Provisioning, Creating VM’s, Joining VM’s to domain etc.). If you watch the Azure Portal during the provisioning, the first objects you will see created are two VMs with corresponding network interfaces and storage accounts. These two servers are the Cloud Connector VMs and will be configured with the Cloud Connector component that links Azure to XA Essentials.
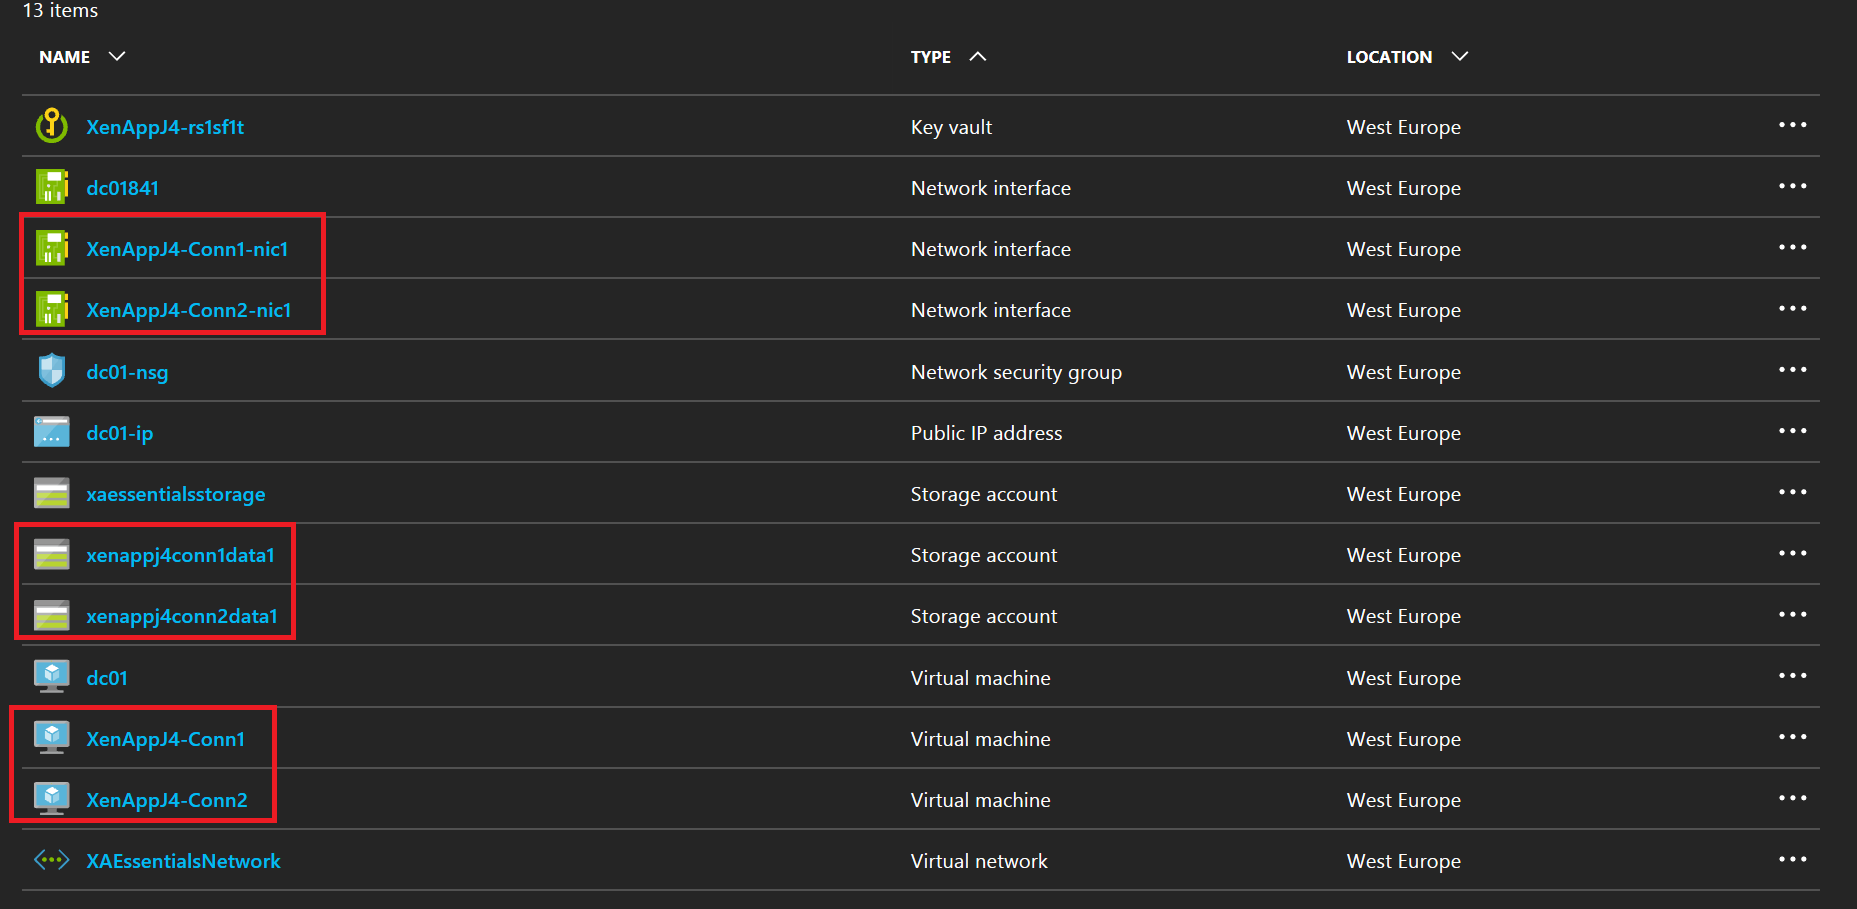
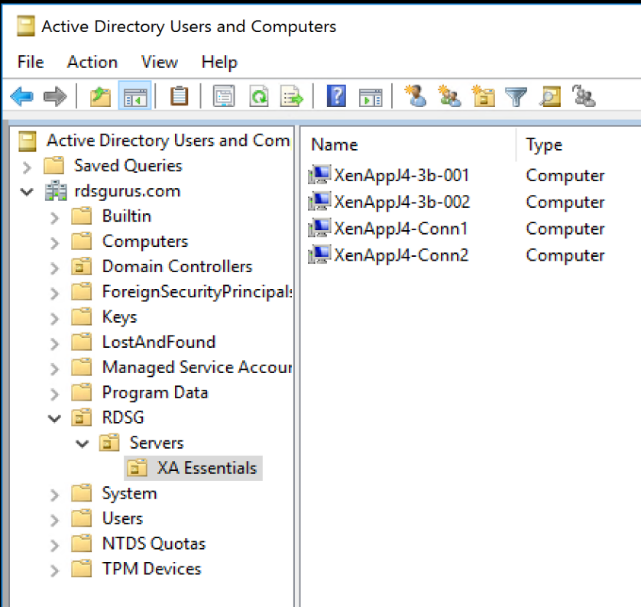
Shortly after you will see these the Cloud Connector VMs being joined to the Active Directory domain you specified.
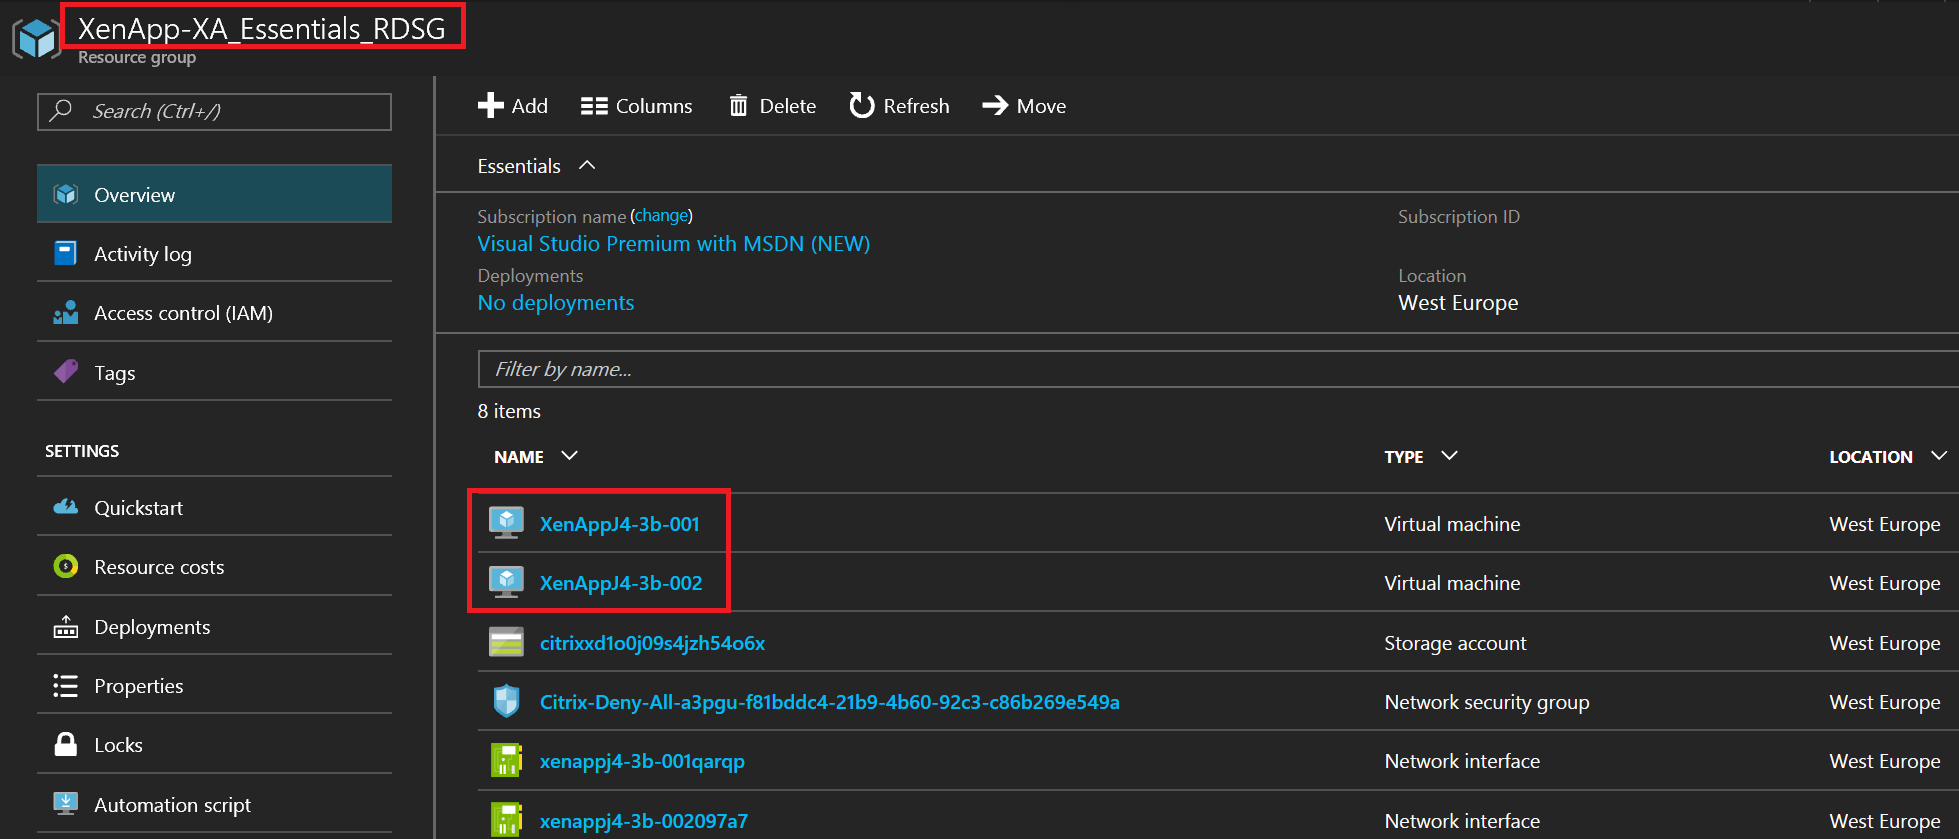
Next, XA Essentials will create the actual XenApp Servers, based on the master image you selected.

Note that these servers are not created in the Resource Group you specified. They end up in a newly created Resource Group that is automatically created and named after the Catalog name you specified.
Then you will see the XenApp Servers being joined to the domain.
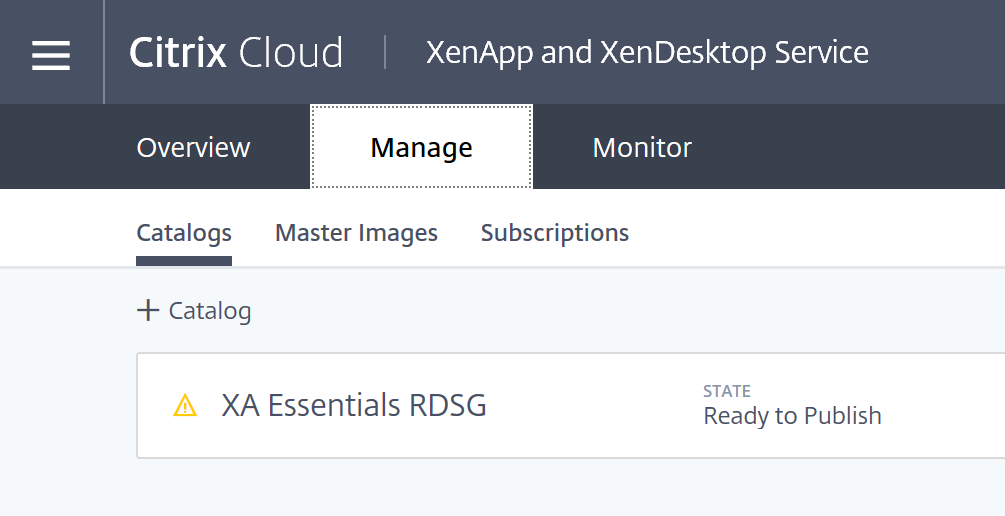
Shortly after, the catalog will change into the state “Ready to Publish”, indicating that the initial setup completed successfully.
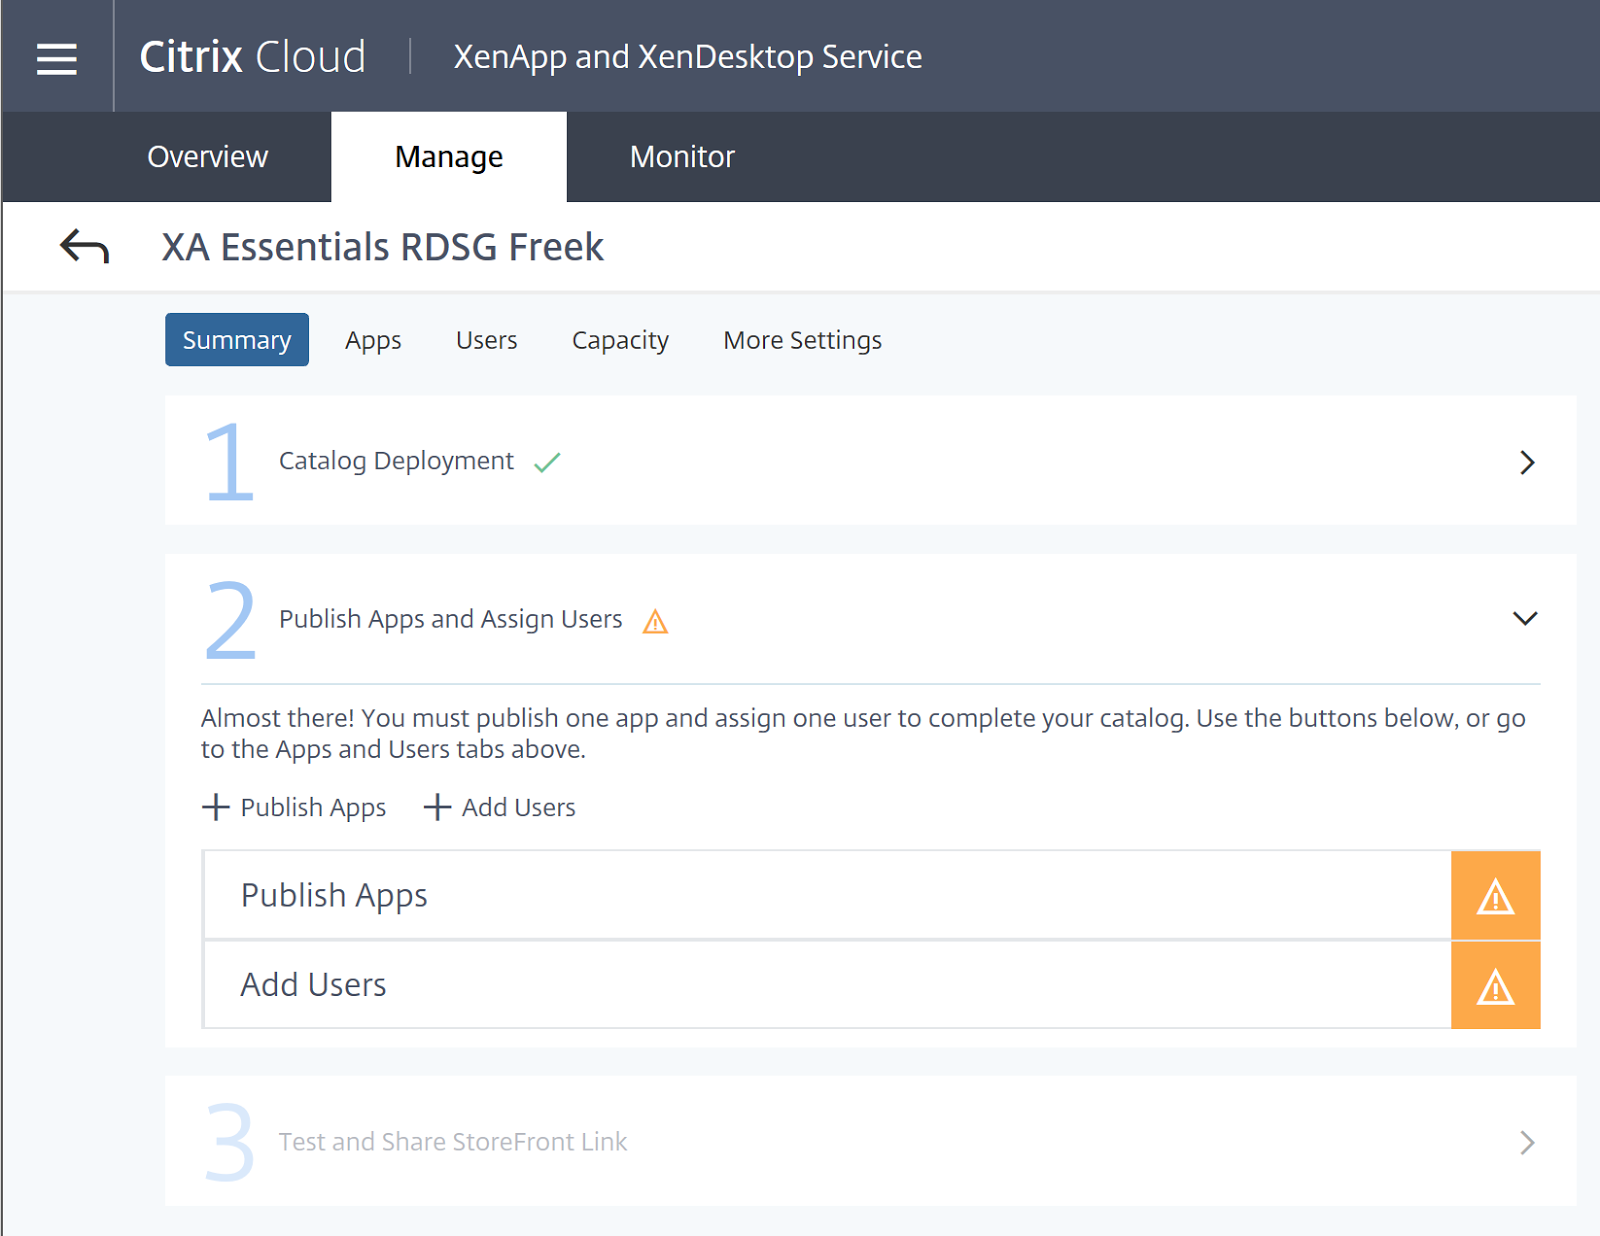
Step 10: Publish Applications
Now you are ready to start publishing applications and assigning users to those applications. To publish applications click Publish Apps.
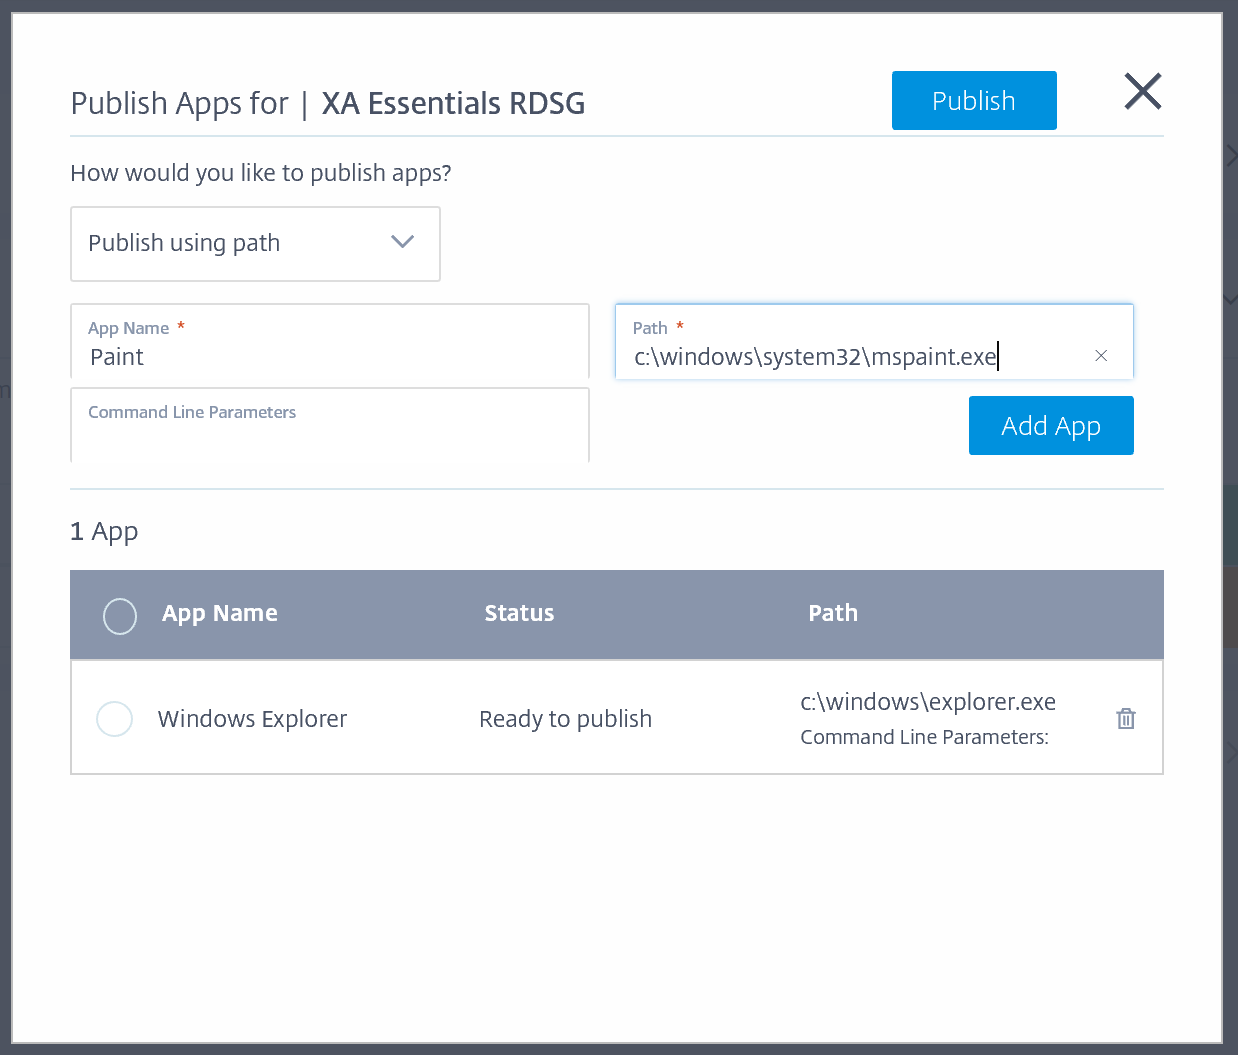
Select from applications retrieved from the Start Menu and select the applications you want to publish from the drop down list.

Optionally, you can add applications by manually specifying its Name, Path and any needed command line parameters.
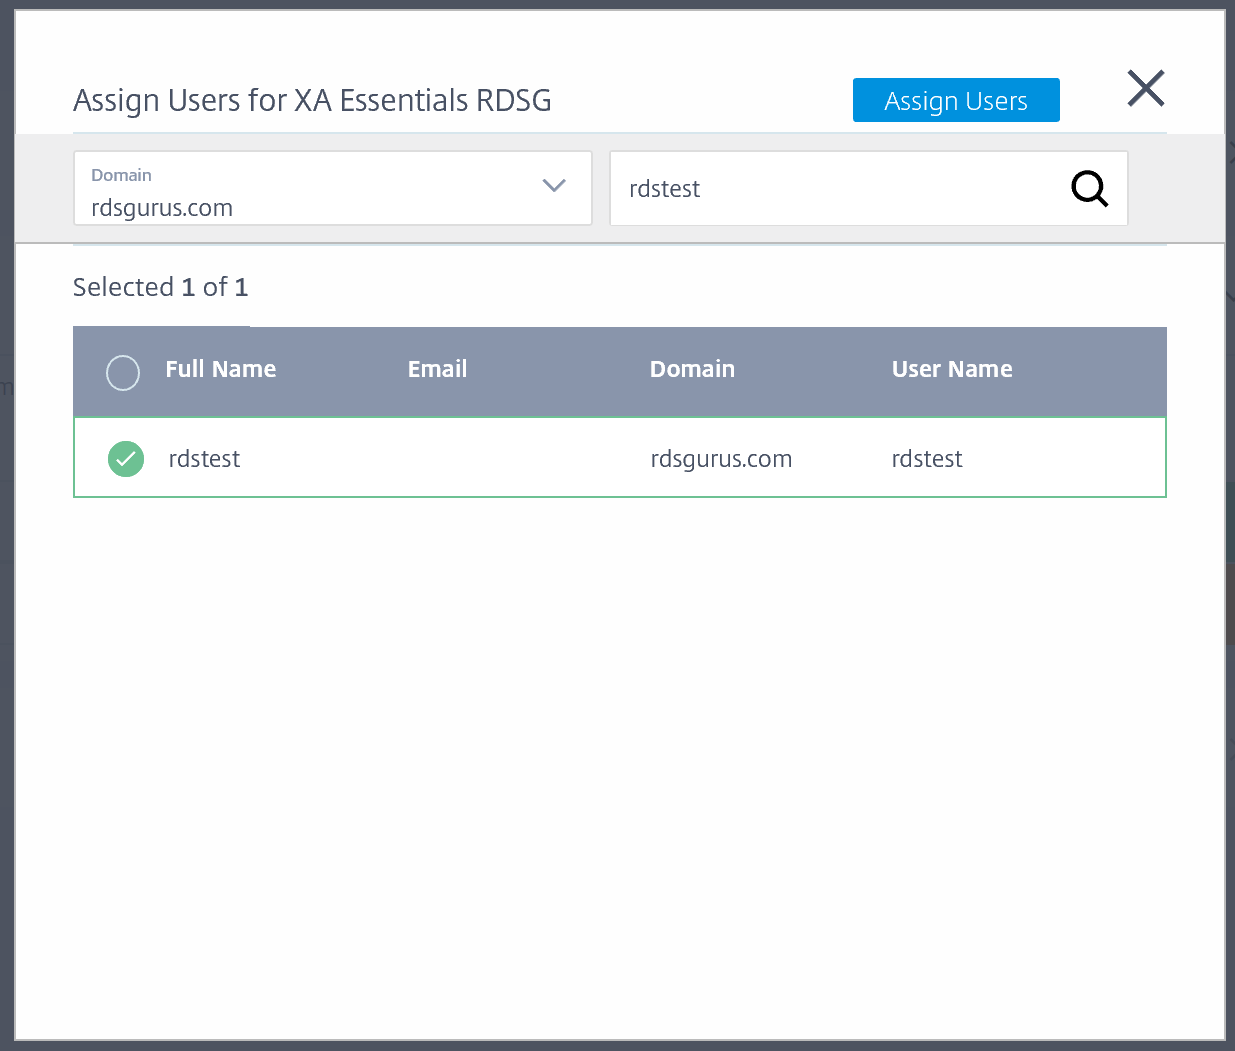
After publishing the applications, you add users. Click Add Users and select the users you want to allow access to XenApp Essentials.
Step 11: Launching Your Apps
In the final step, the wizard specifies the Public URL that points to your XA Essentials environment.
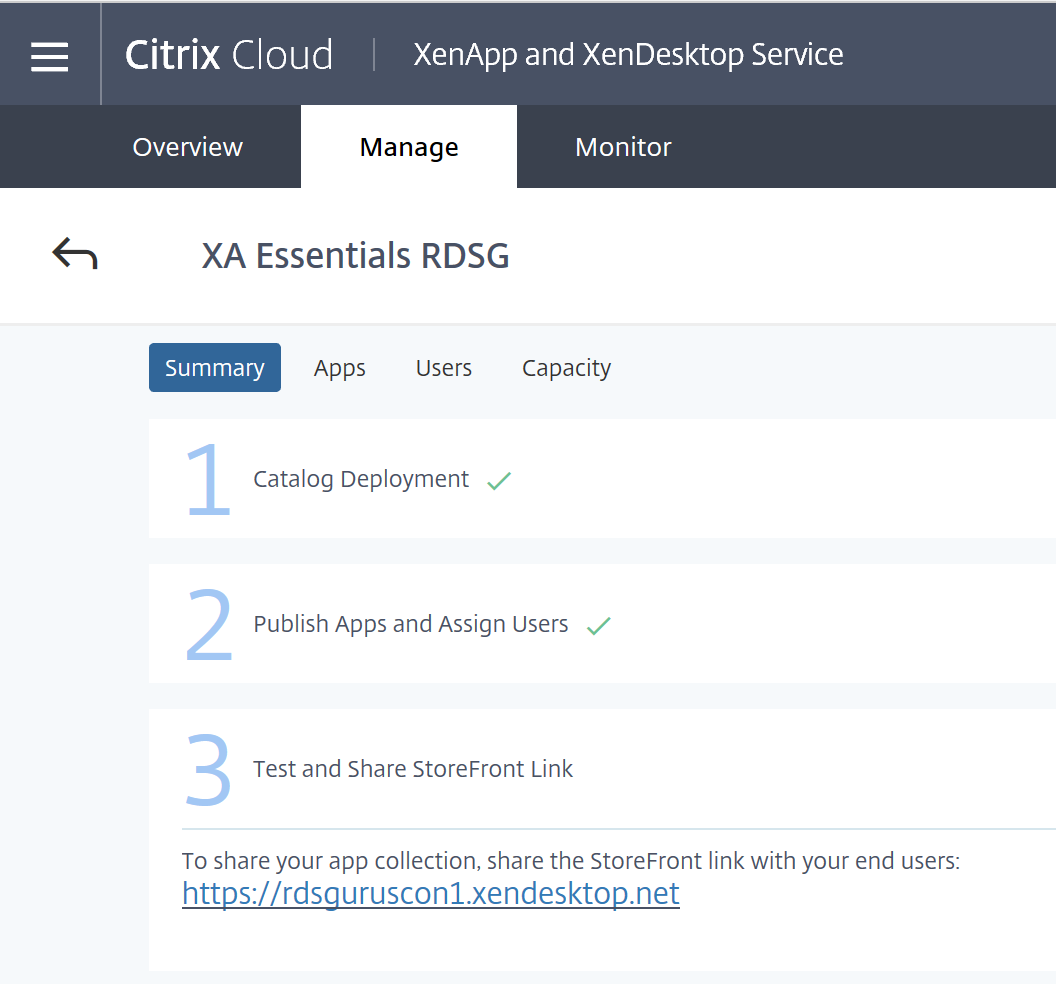
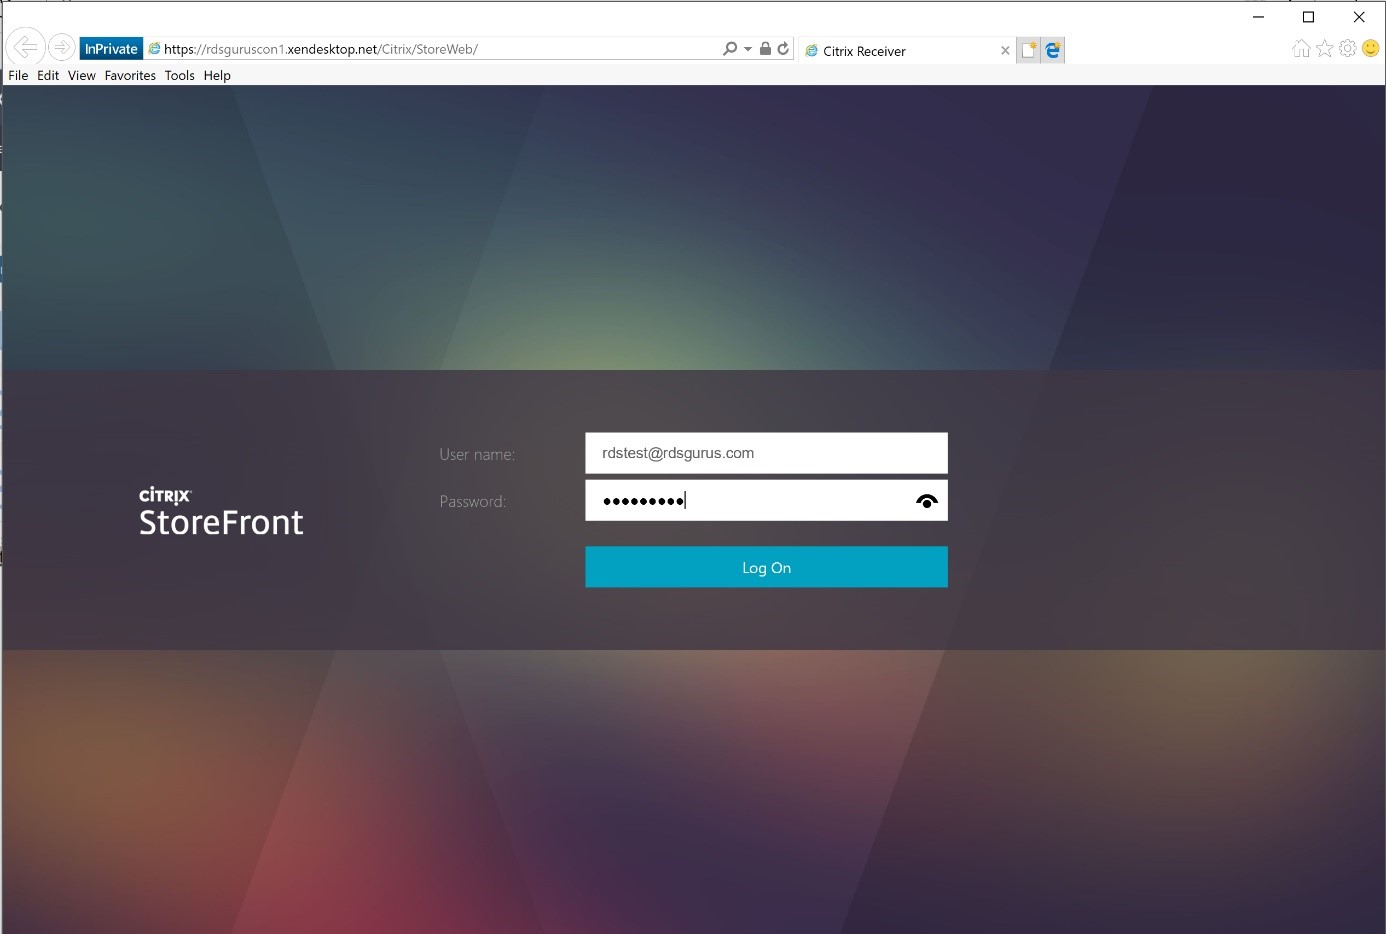
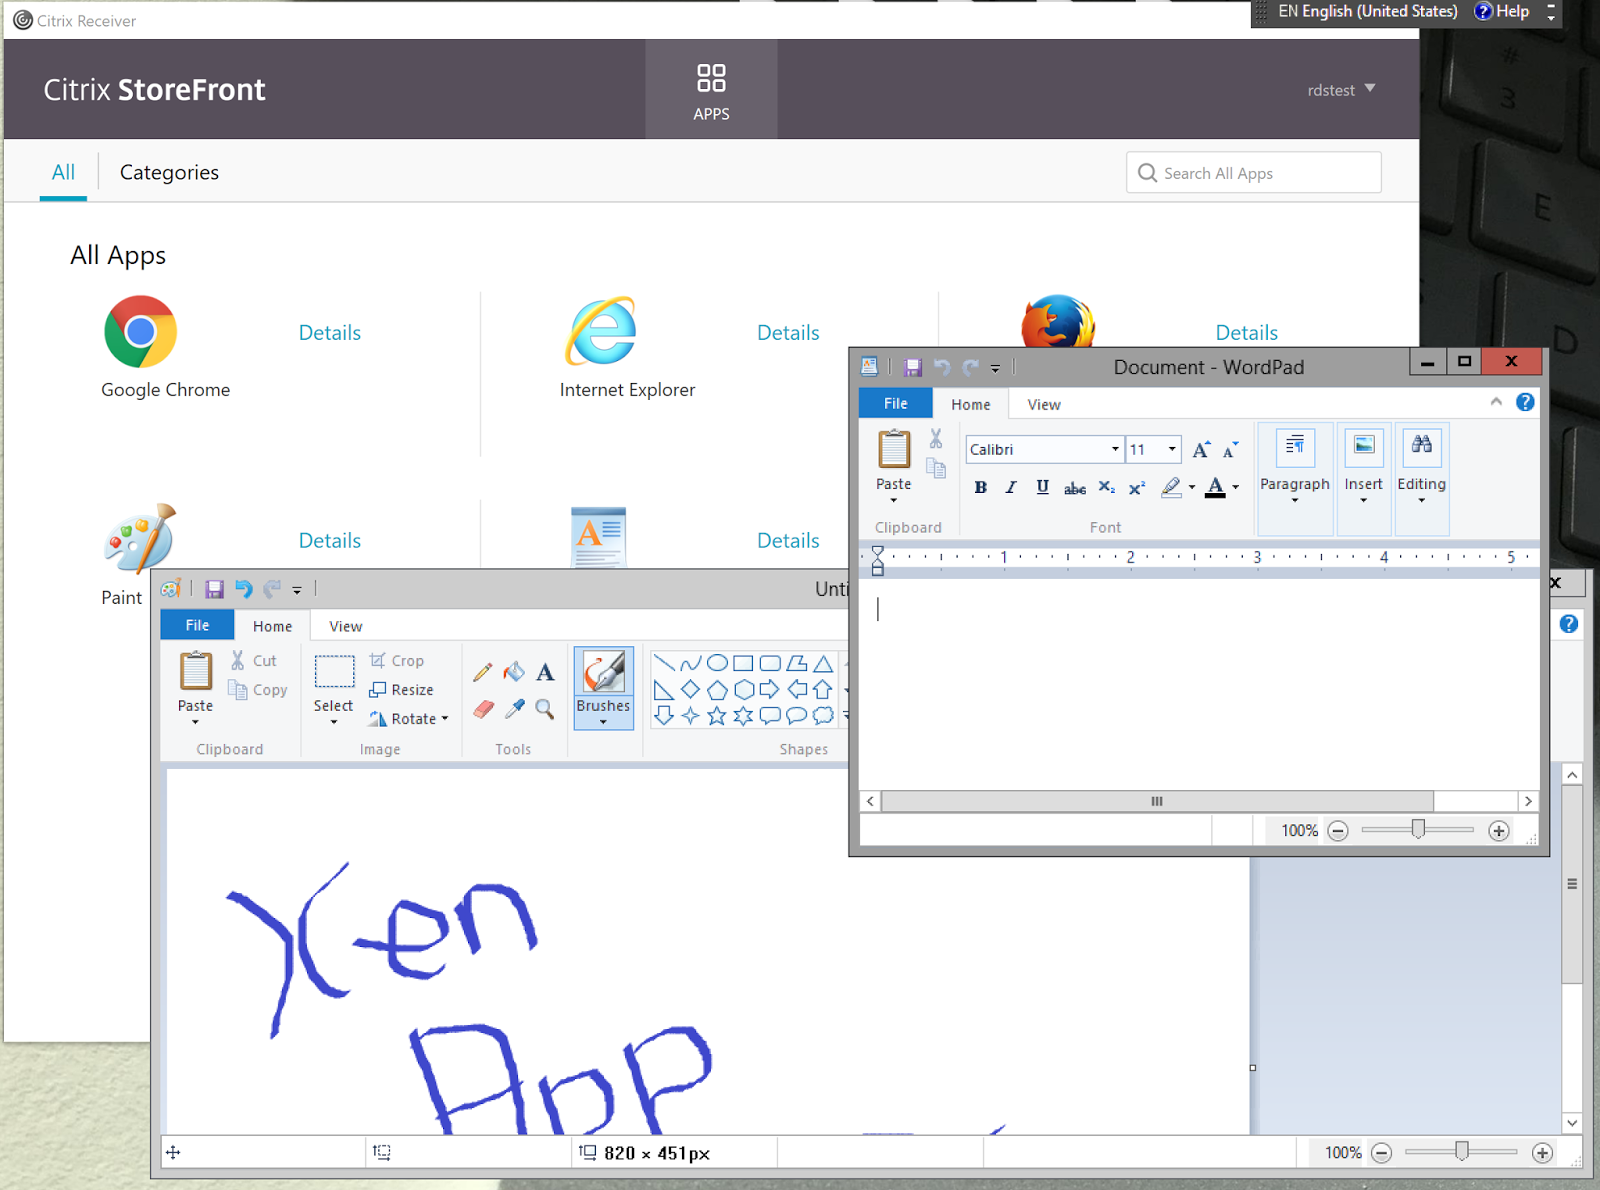
Browse to the URL listed, and you will get to the Citrix StoreFront page that XA Essentials manages for you. Log on using one of the accounts you add in the previous step.
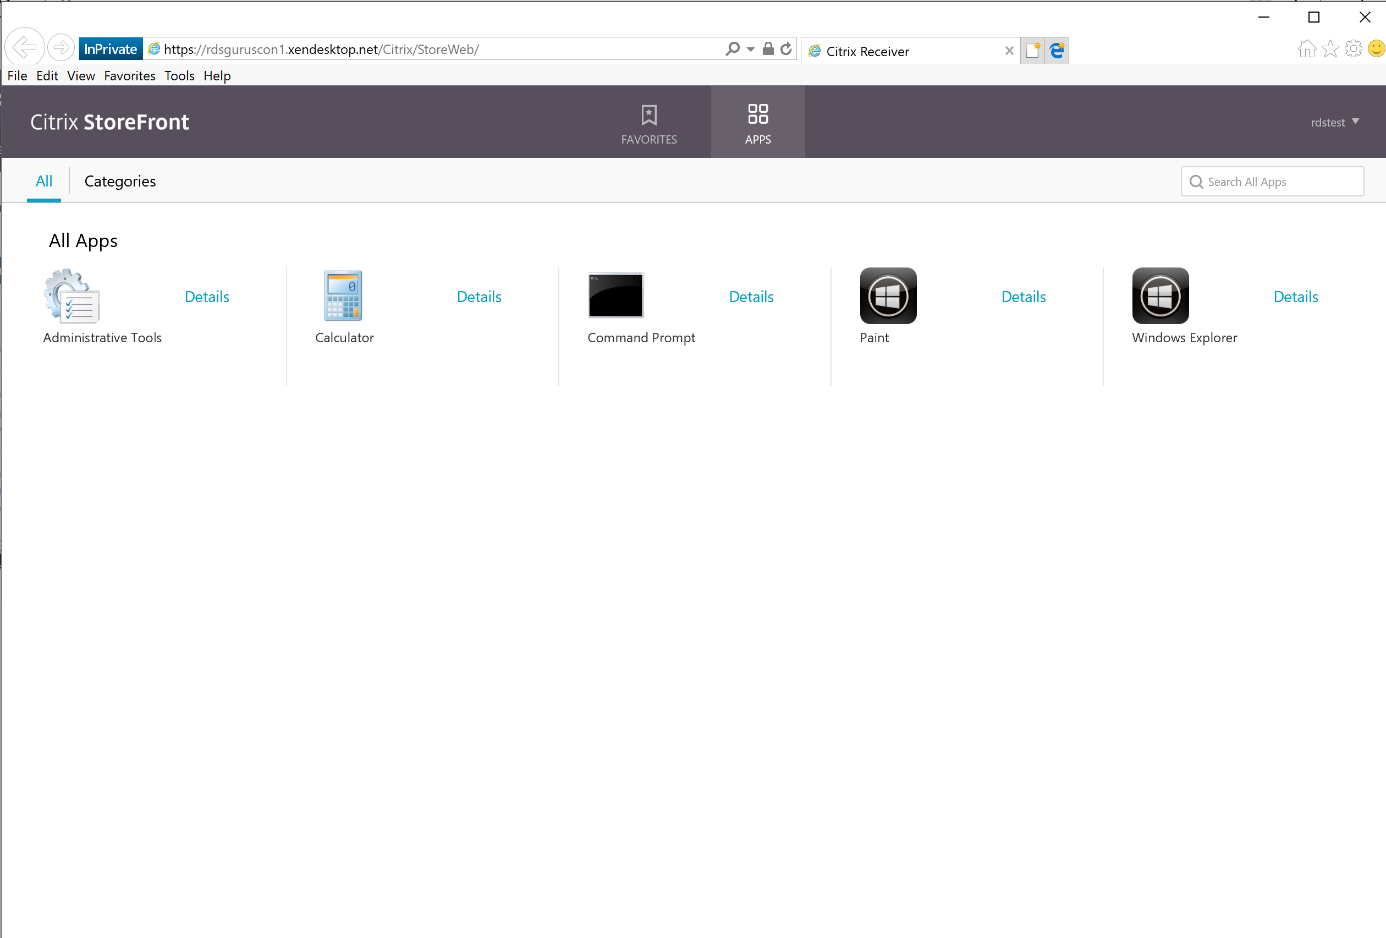
Once logged in you are presented with the applications you published in the catalog. The end user can add applications to the Favorites area for easy access and launch the available applications.
Note: Some applications may have a default Windows Logo with a circle. These are the apps that are published by specifying a manual path. Unfortunately, XA Essentials does not yet retrieve the icons of those Apps.
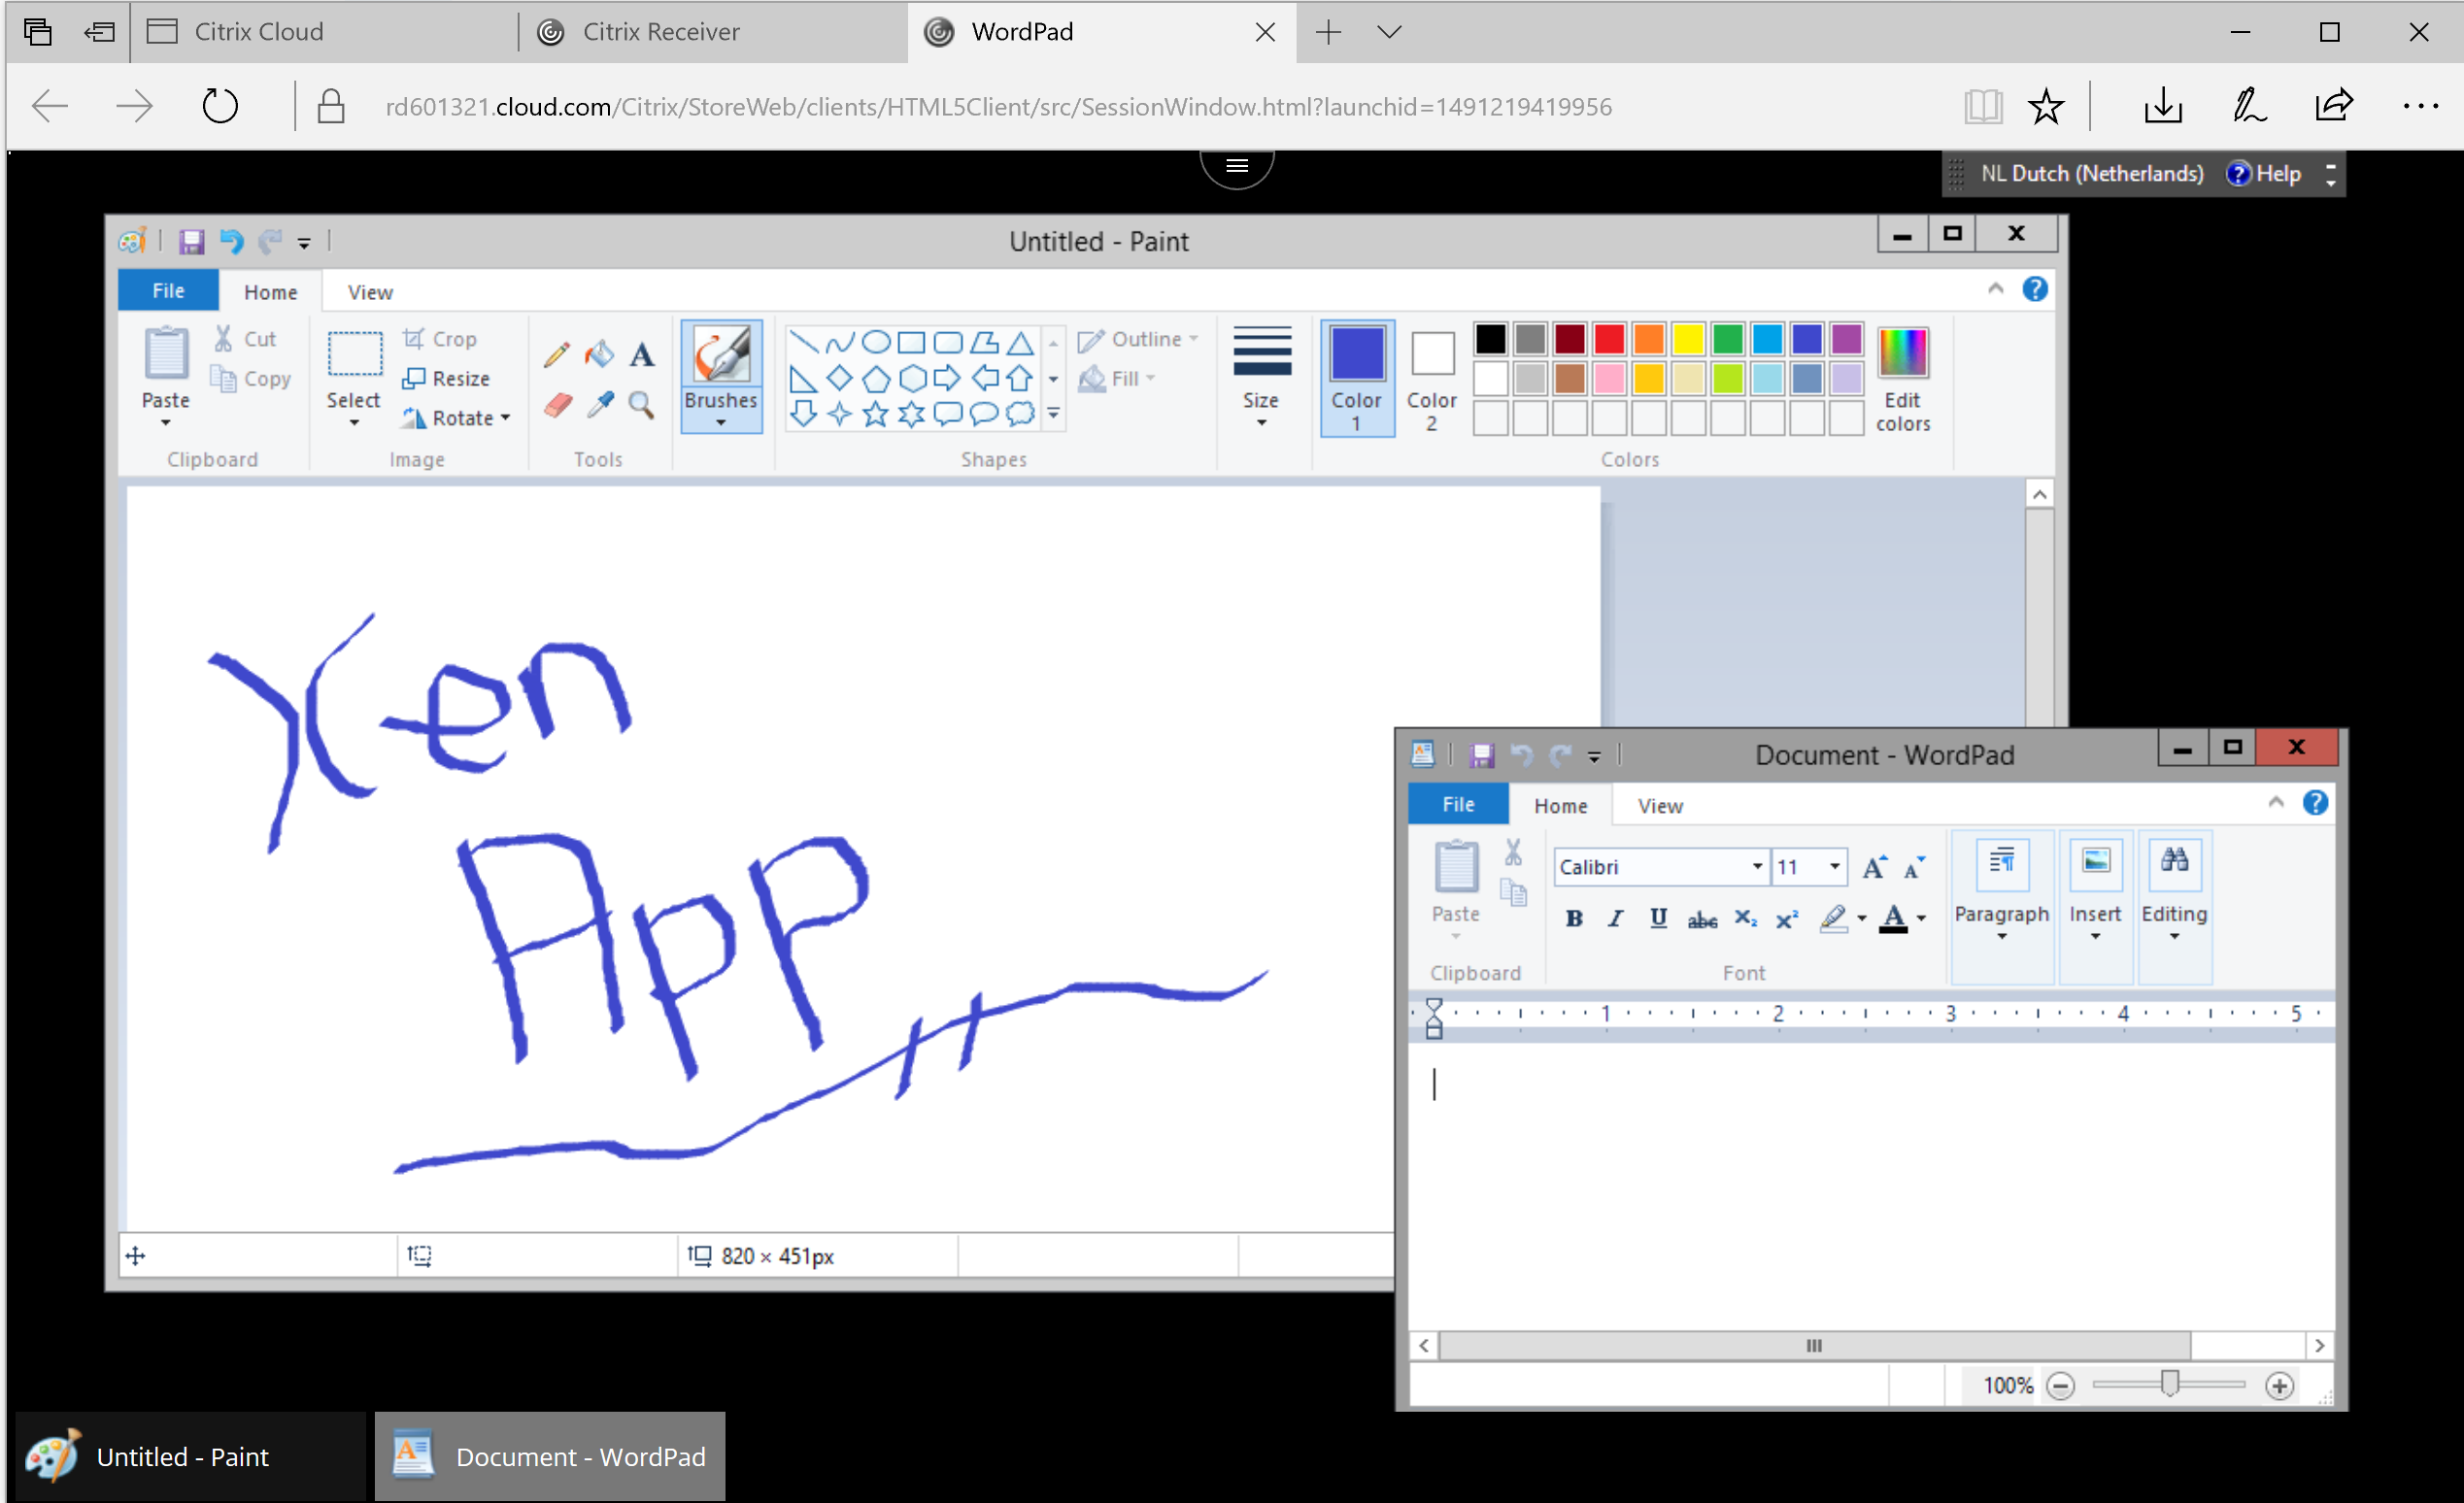
Starting an application will launch the Citrix Receiver Session and your application is up and running. Here you see Paint and wordpad running as a Remote Application in XenApp Essentials inside a browser.
Besides StoreFront you can also use the Connection Center to retrieve and launch the applications.
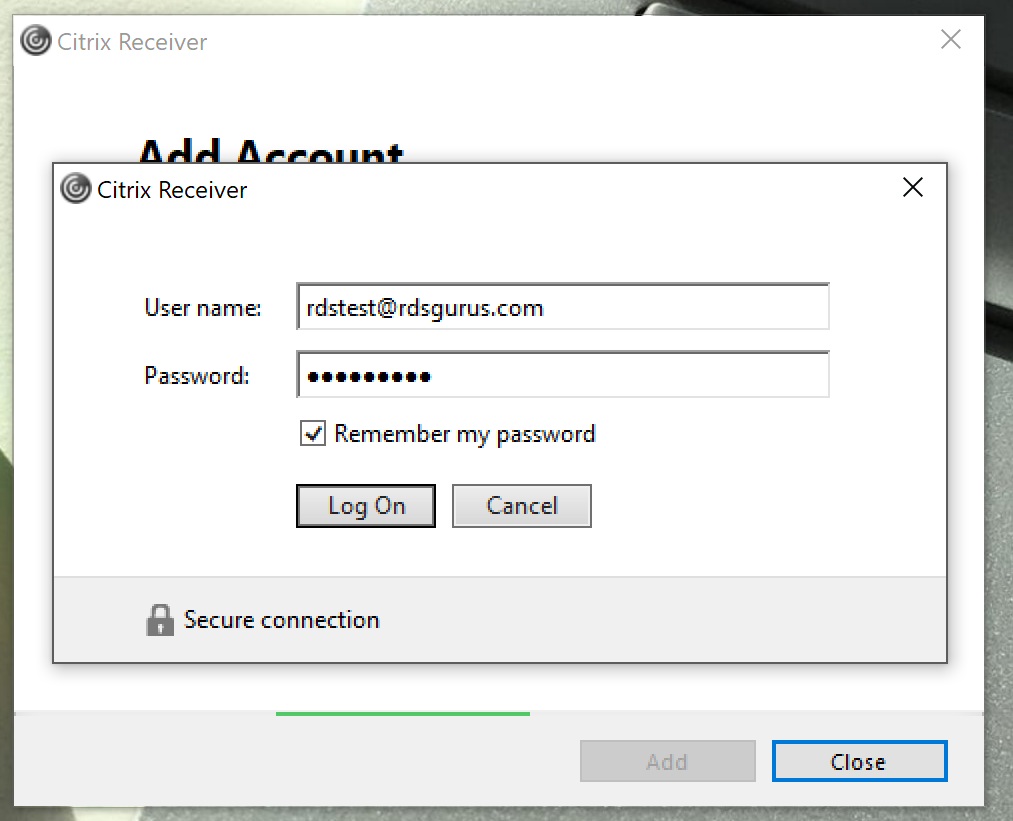
Here you see Citrix Receiver Client with the apps publishing via XA Essentials.
XA Essentials Monitoring
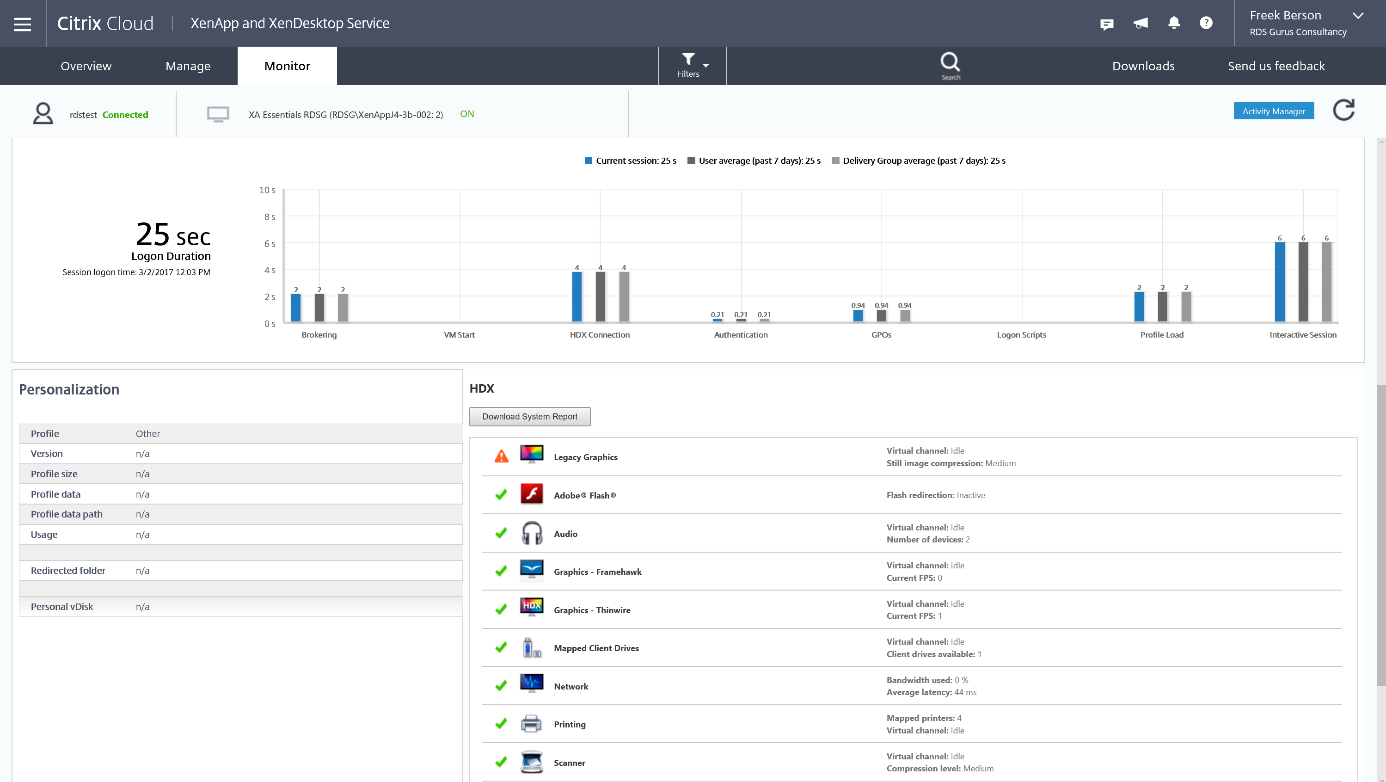
You can do some basic monitoring and session management in the Citrix Cloud Portal. Click the Monitor tab. Below you can see the sessions Currently active.

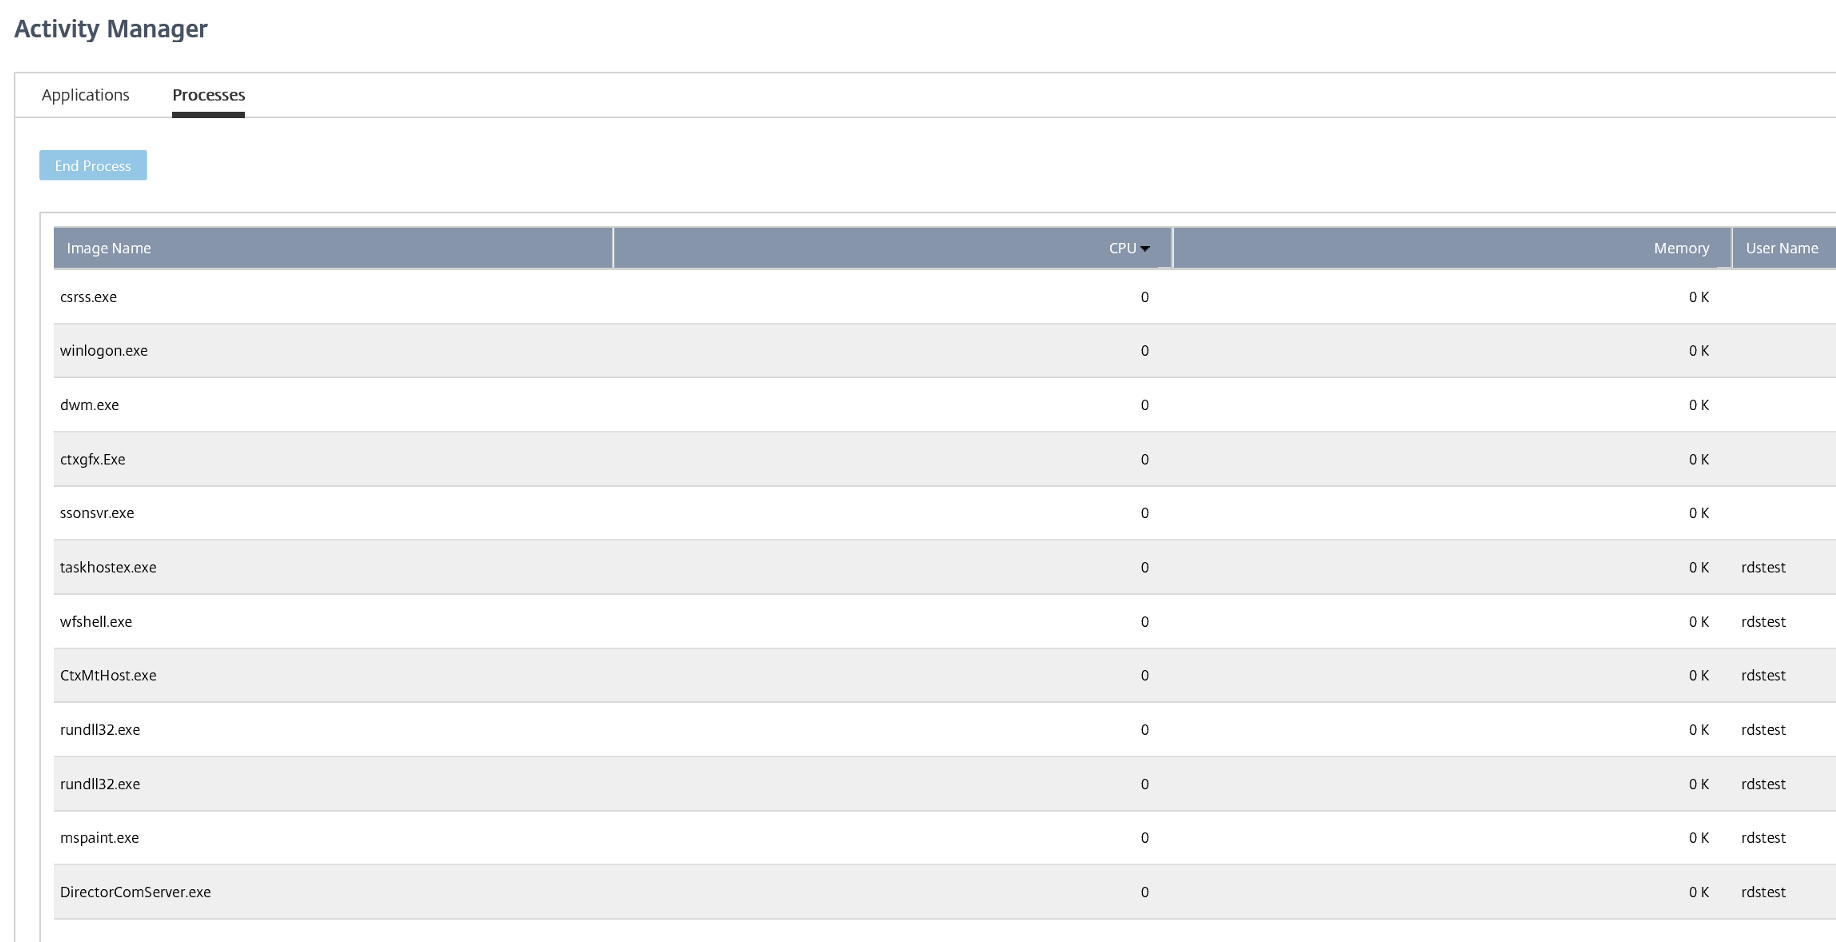
Drill down into a session and see the Applications running.

The Processes tab shows resource consumption per process.
XA Essentials also comes with more detailed session information like logon duration, personalization options, and virtual channels that are in use.
Summary
We have shown you how to get a Citrix Cloud account and link it to your Azure subscription. We walked you through the steps to create a catalog and successfully deploy XenApp Essentials. Then we showed you how to access and manage that deployment.
For more detail on XenApp and XenDesktop on Azure, see our post “A Beginner’s Guide to XenApp and XenDesktop on Azure“.
And check back soon for an article on Citrix Cloud XenApp & XenDesktop Service on Azure!